
1. Purchase
During a weekend trip to Antwerp, I received a notification from an auction site: a Formanta Polivoks was up for sale. The Polivoks was listed as faulty, as one of the oscillators no longer worked. What also stood out were several marks on the unit, as if a soldering iron had been dropped on it.
That said, it was complete, none of the knobs were missing, and the cover was included as well. I could buy it for €400.
The Polivoks, a relic from the Soviet era, had been on my wishlist for some time, so I didn’t have to think twice. I decided to pick it up on the way back.
2. Preparation
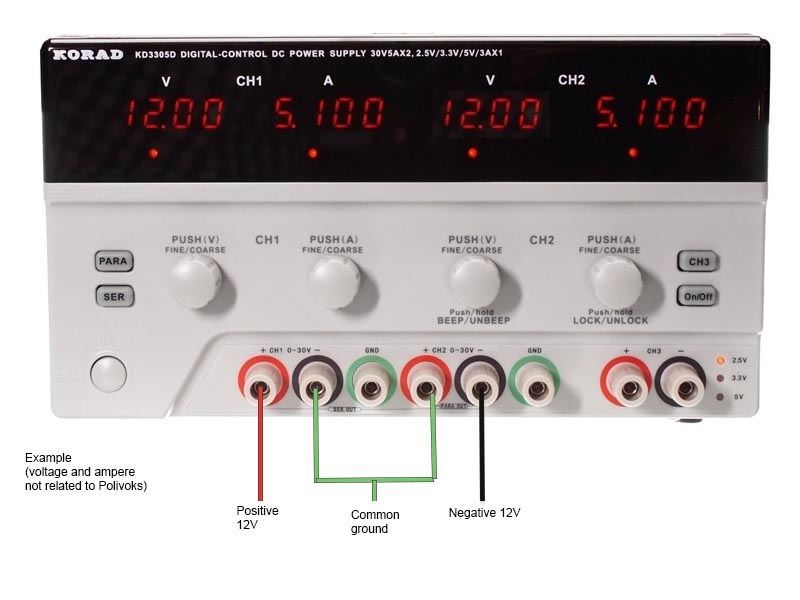
During my previous project I really missed an audio probe. I really wanted to have one for this project so I ended up building one using instructions from this website. I also decided to invest in a bench power supply. While reading up on electronics safety, it became clear this was a good purchase if I wanted to take on more projects in the future.The idea behind a bench power supply is that you can connect its output voltages directly to your project’s power rails, so you don’t have to work with 230V mains, eliminating another risk!
I went with the Korad KD3305D. It’s an entry-level model that can supply three different voltages, which should be more than enough for most gear.
3. The faulty oscillator
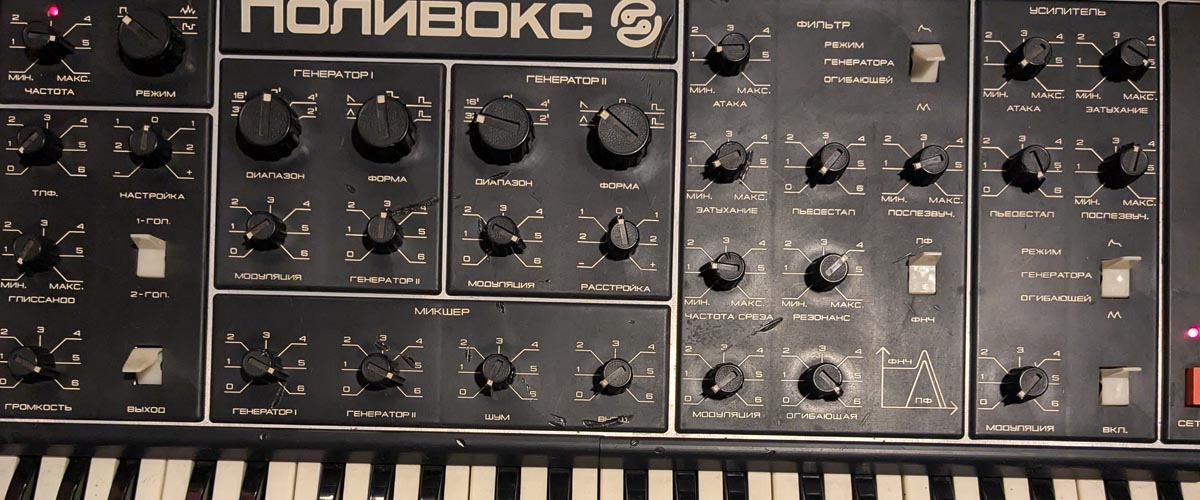
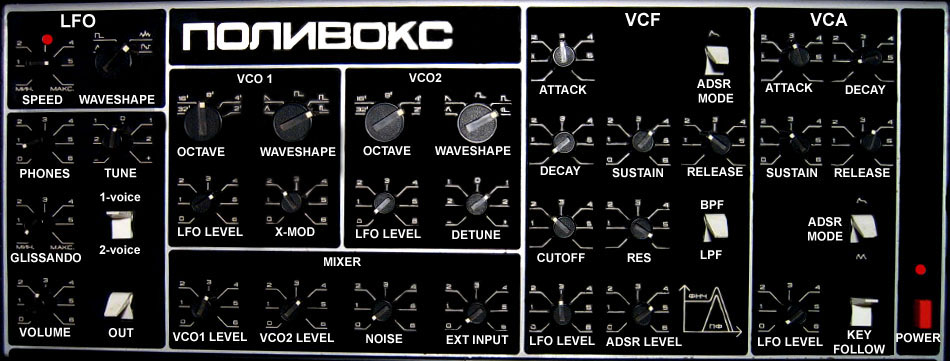
The Polivoks has a modular design. When you look inside, you’ll see a mainboard with various plug-in cards.
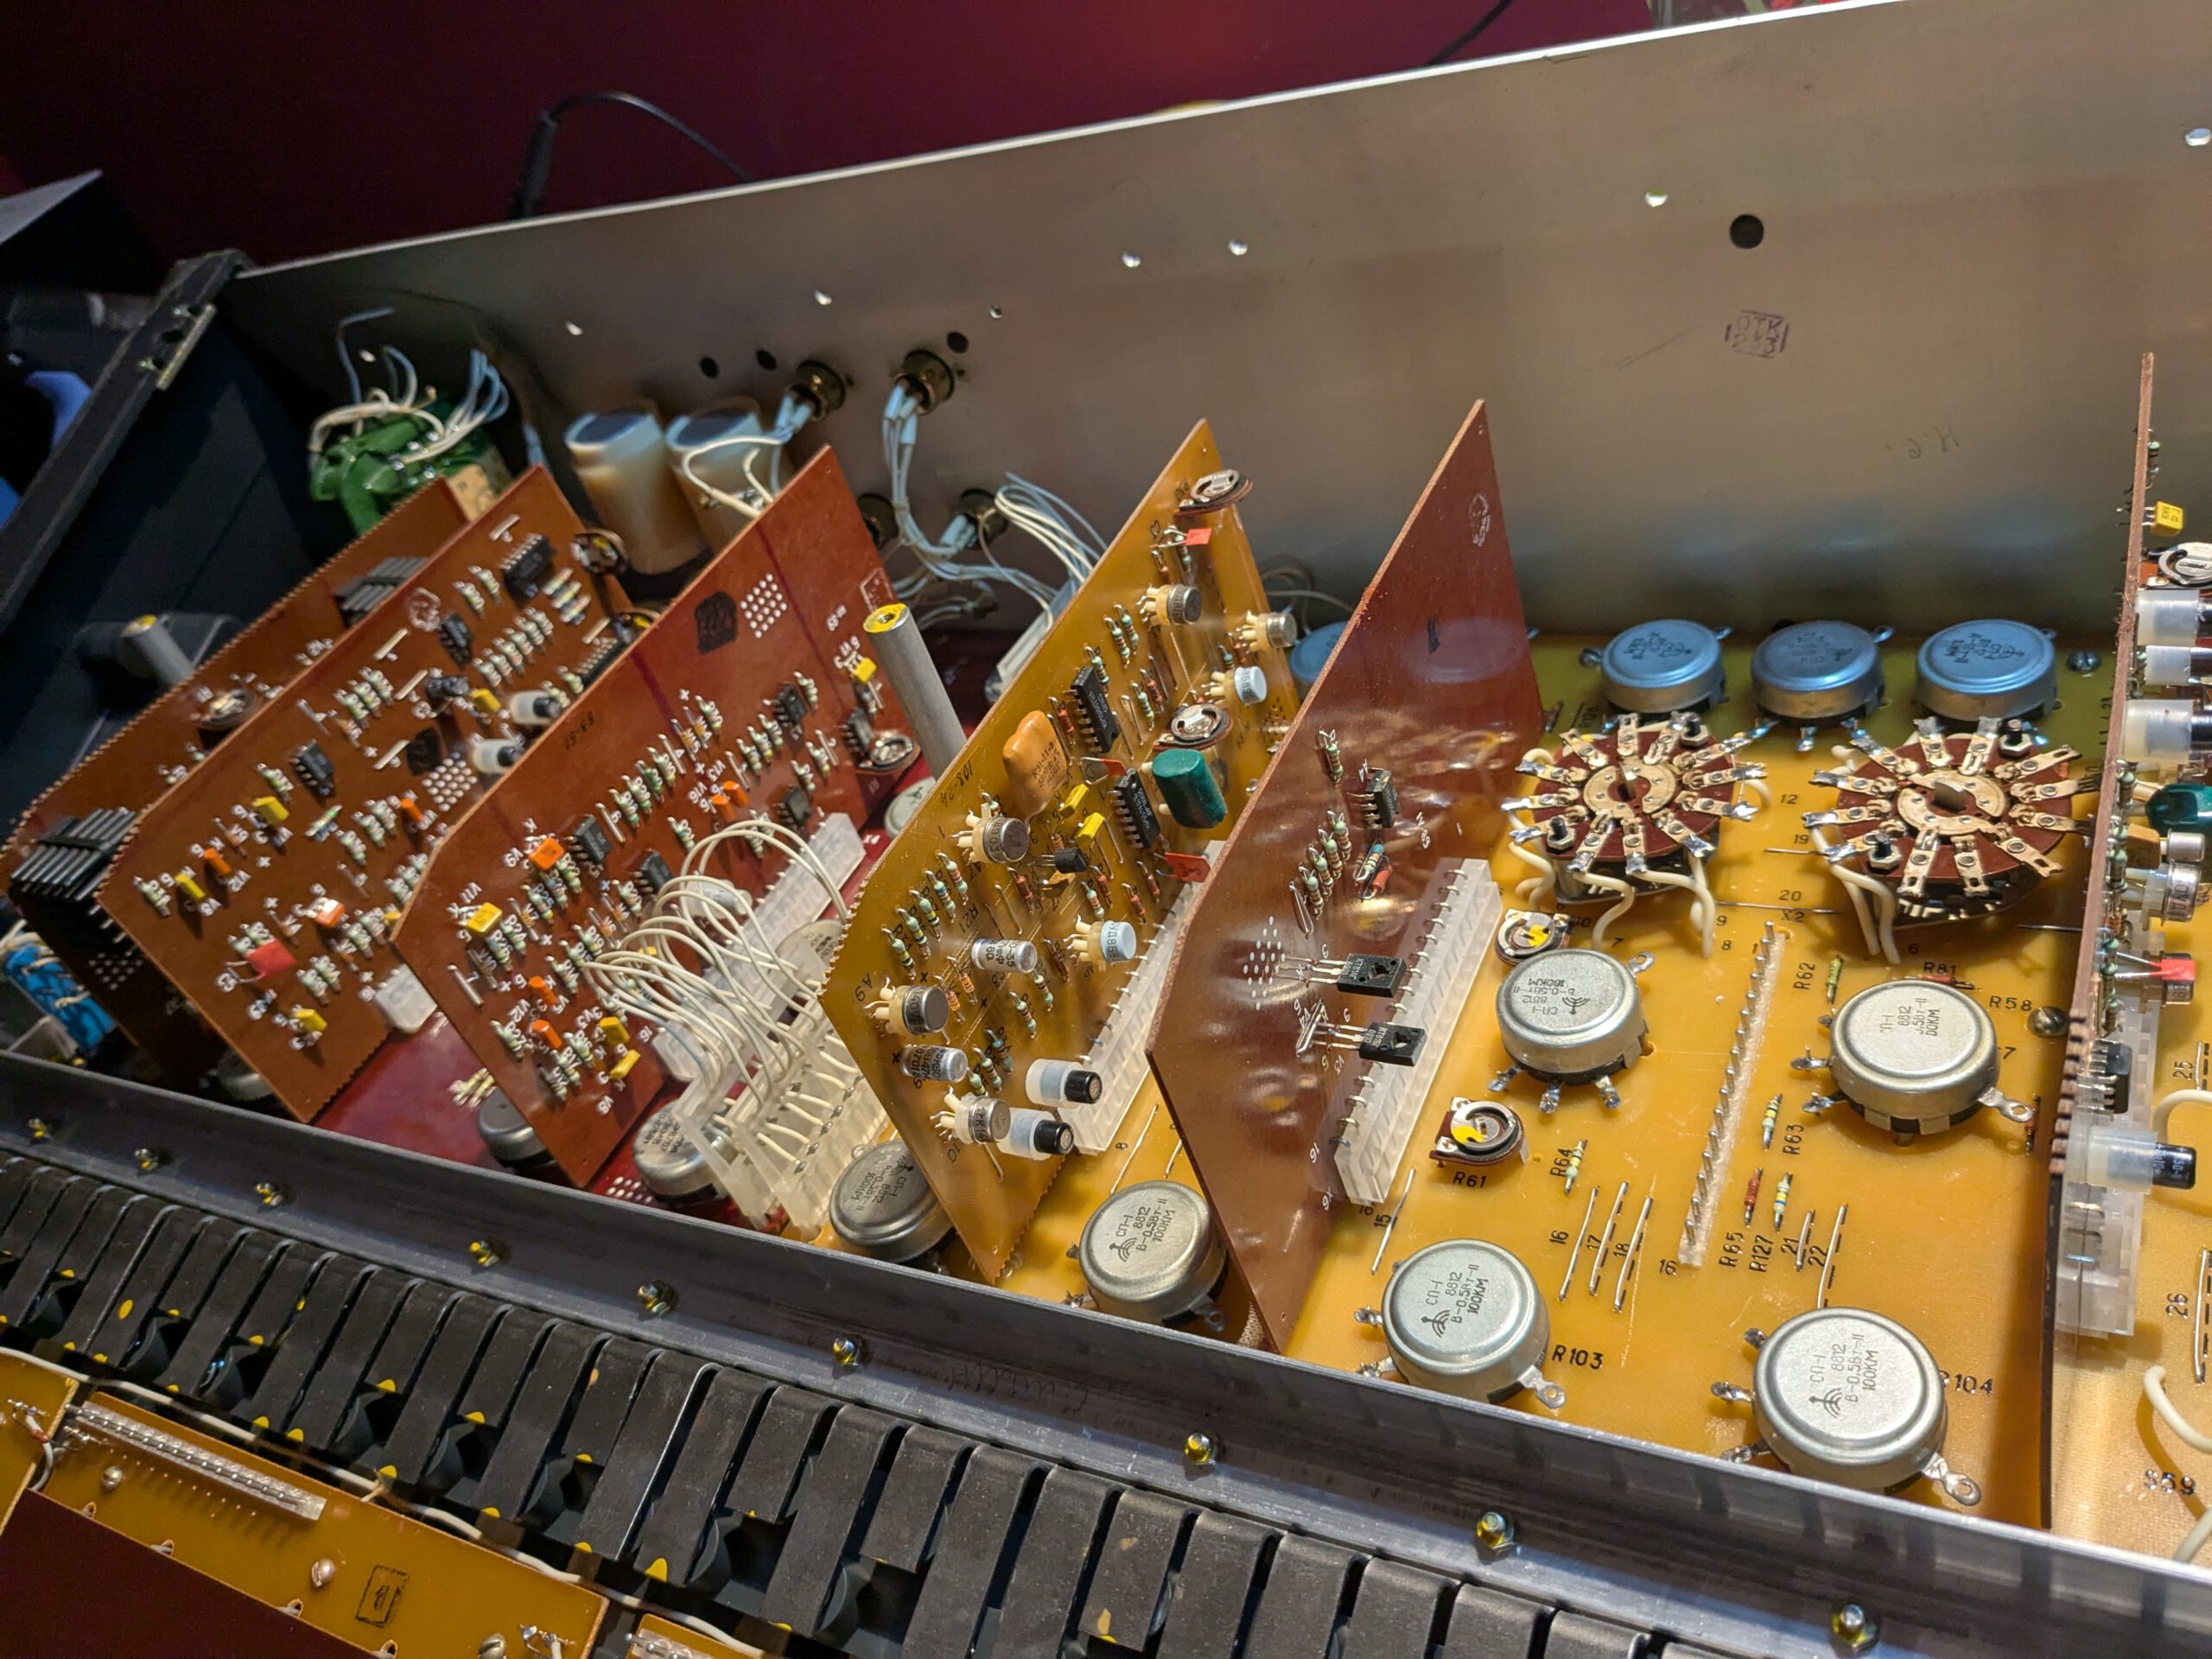
Each of these cards has a specific function. For example, there are two VCO cards, a mixer card, and a filter card. This modular approach makes troubleshooting a lot easier! So naturally, the most logical place to start when diagnosing the issue with oscillator 2 was the VCO board.
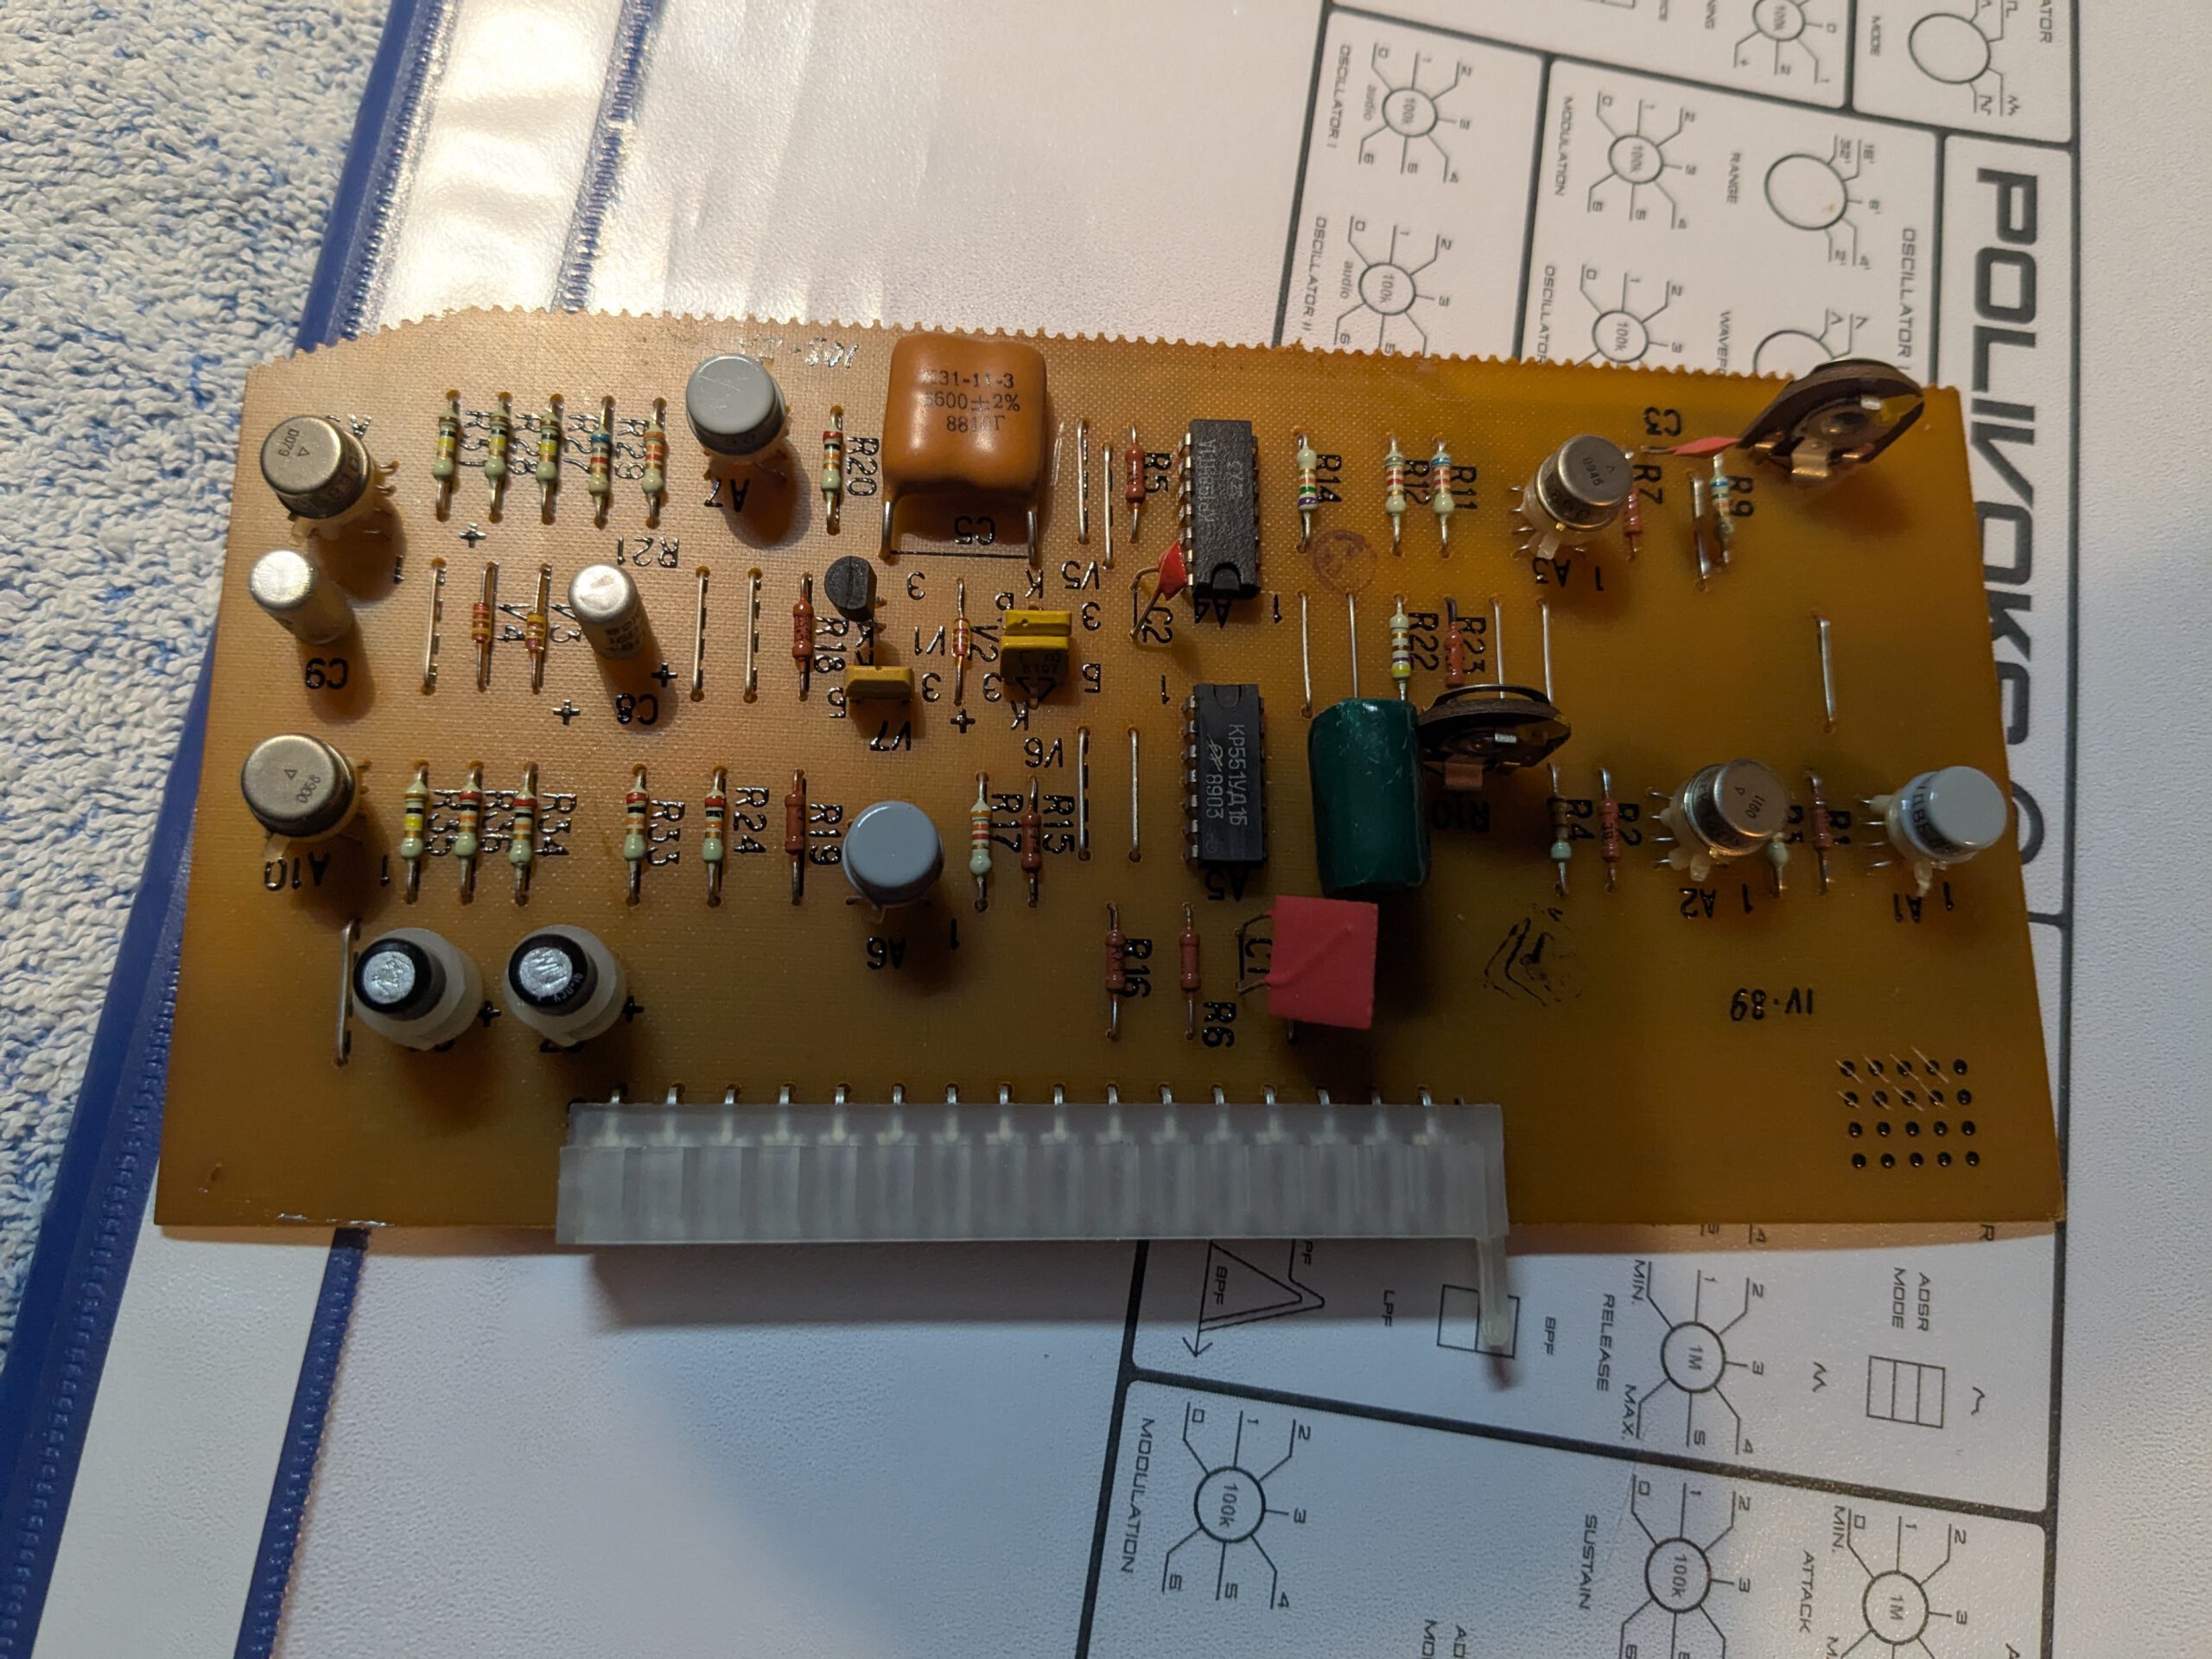
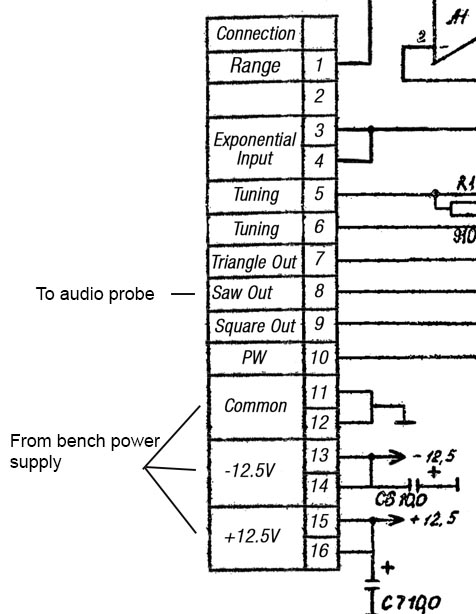
This gave me the perfect opportunity to put my bench power supply to use. I removed the board and connected it to the bench supply. The required voltages were -12.5V, +12.5V, and ground.
I had to take a moment to figure out how to configure the negative voltage. Here’s how I solved it.
I grabbed my new audio probe to check whether a waveform was being sent to the connectors at pins 7, 8, and 9. One of the VCO boards was outputting a signal, but I couldn’t detect anything from the other one.
I had a hard time finding the source of the audio signal, because there wasn’t one. 😉
I had already replaced a few capacitors, and even reinstalled some that turned out to be fine. At one point, I suspected a faulty IC and ended up ordering a replacement all the way from Erica Synths in Latvia. I’ve realized that in some situations, I still struggle to judge what values I should expect from certain components. That’s led me astray a few times, thinking a part was faulty when it actually wasn’t.
Fortunately, the extra components didn’t cost me much this time. But next time, I want to make a better effort to understand the exact function of each component and its role in the circuit. That should also help me interpret measurement values more accurately.
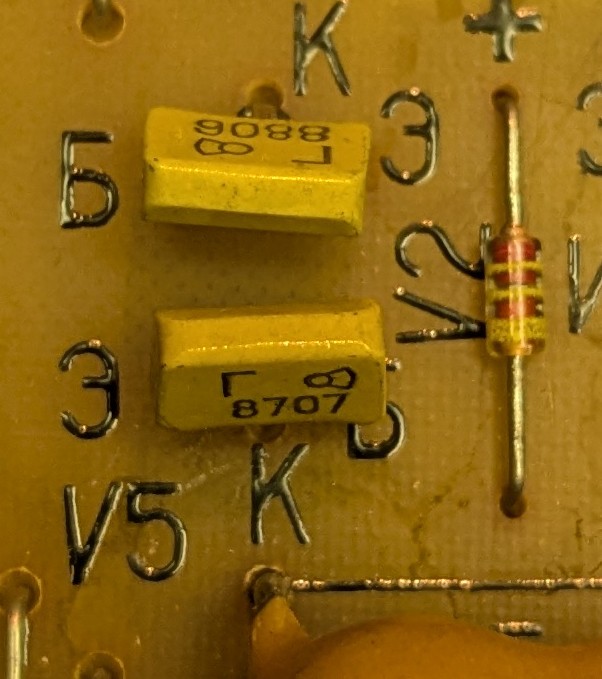
I decided to do a visual inspection as the oscillator still wasn’t working. It looked like one of the transistor legs was broken!
I decided to replace it, and sure enough, the oscillator started working again! Sometimes the solution is surprisingly simple. I have no idea how it happened, but this just goes to show, it can really pay off to take a good, careful look before you start measuring.
4. Replacing the capacitors
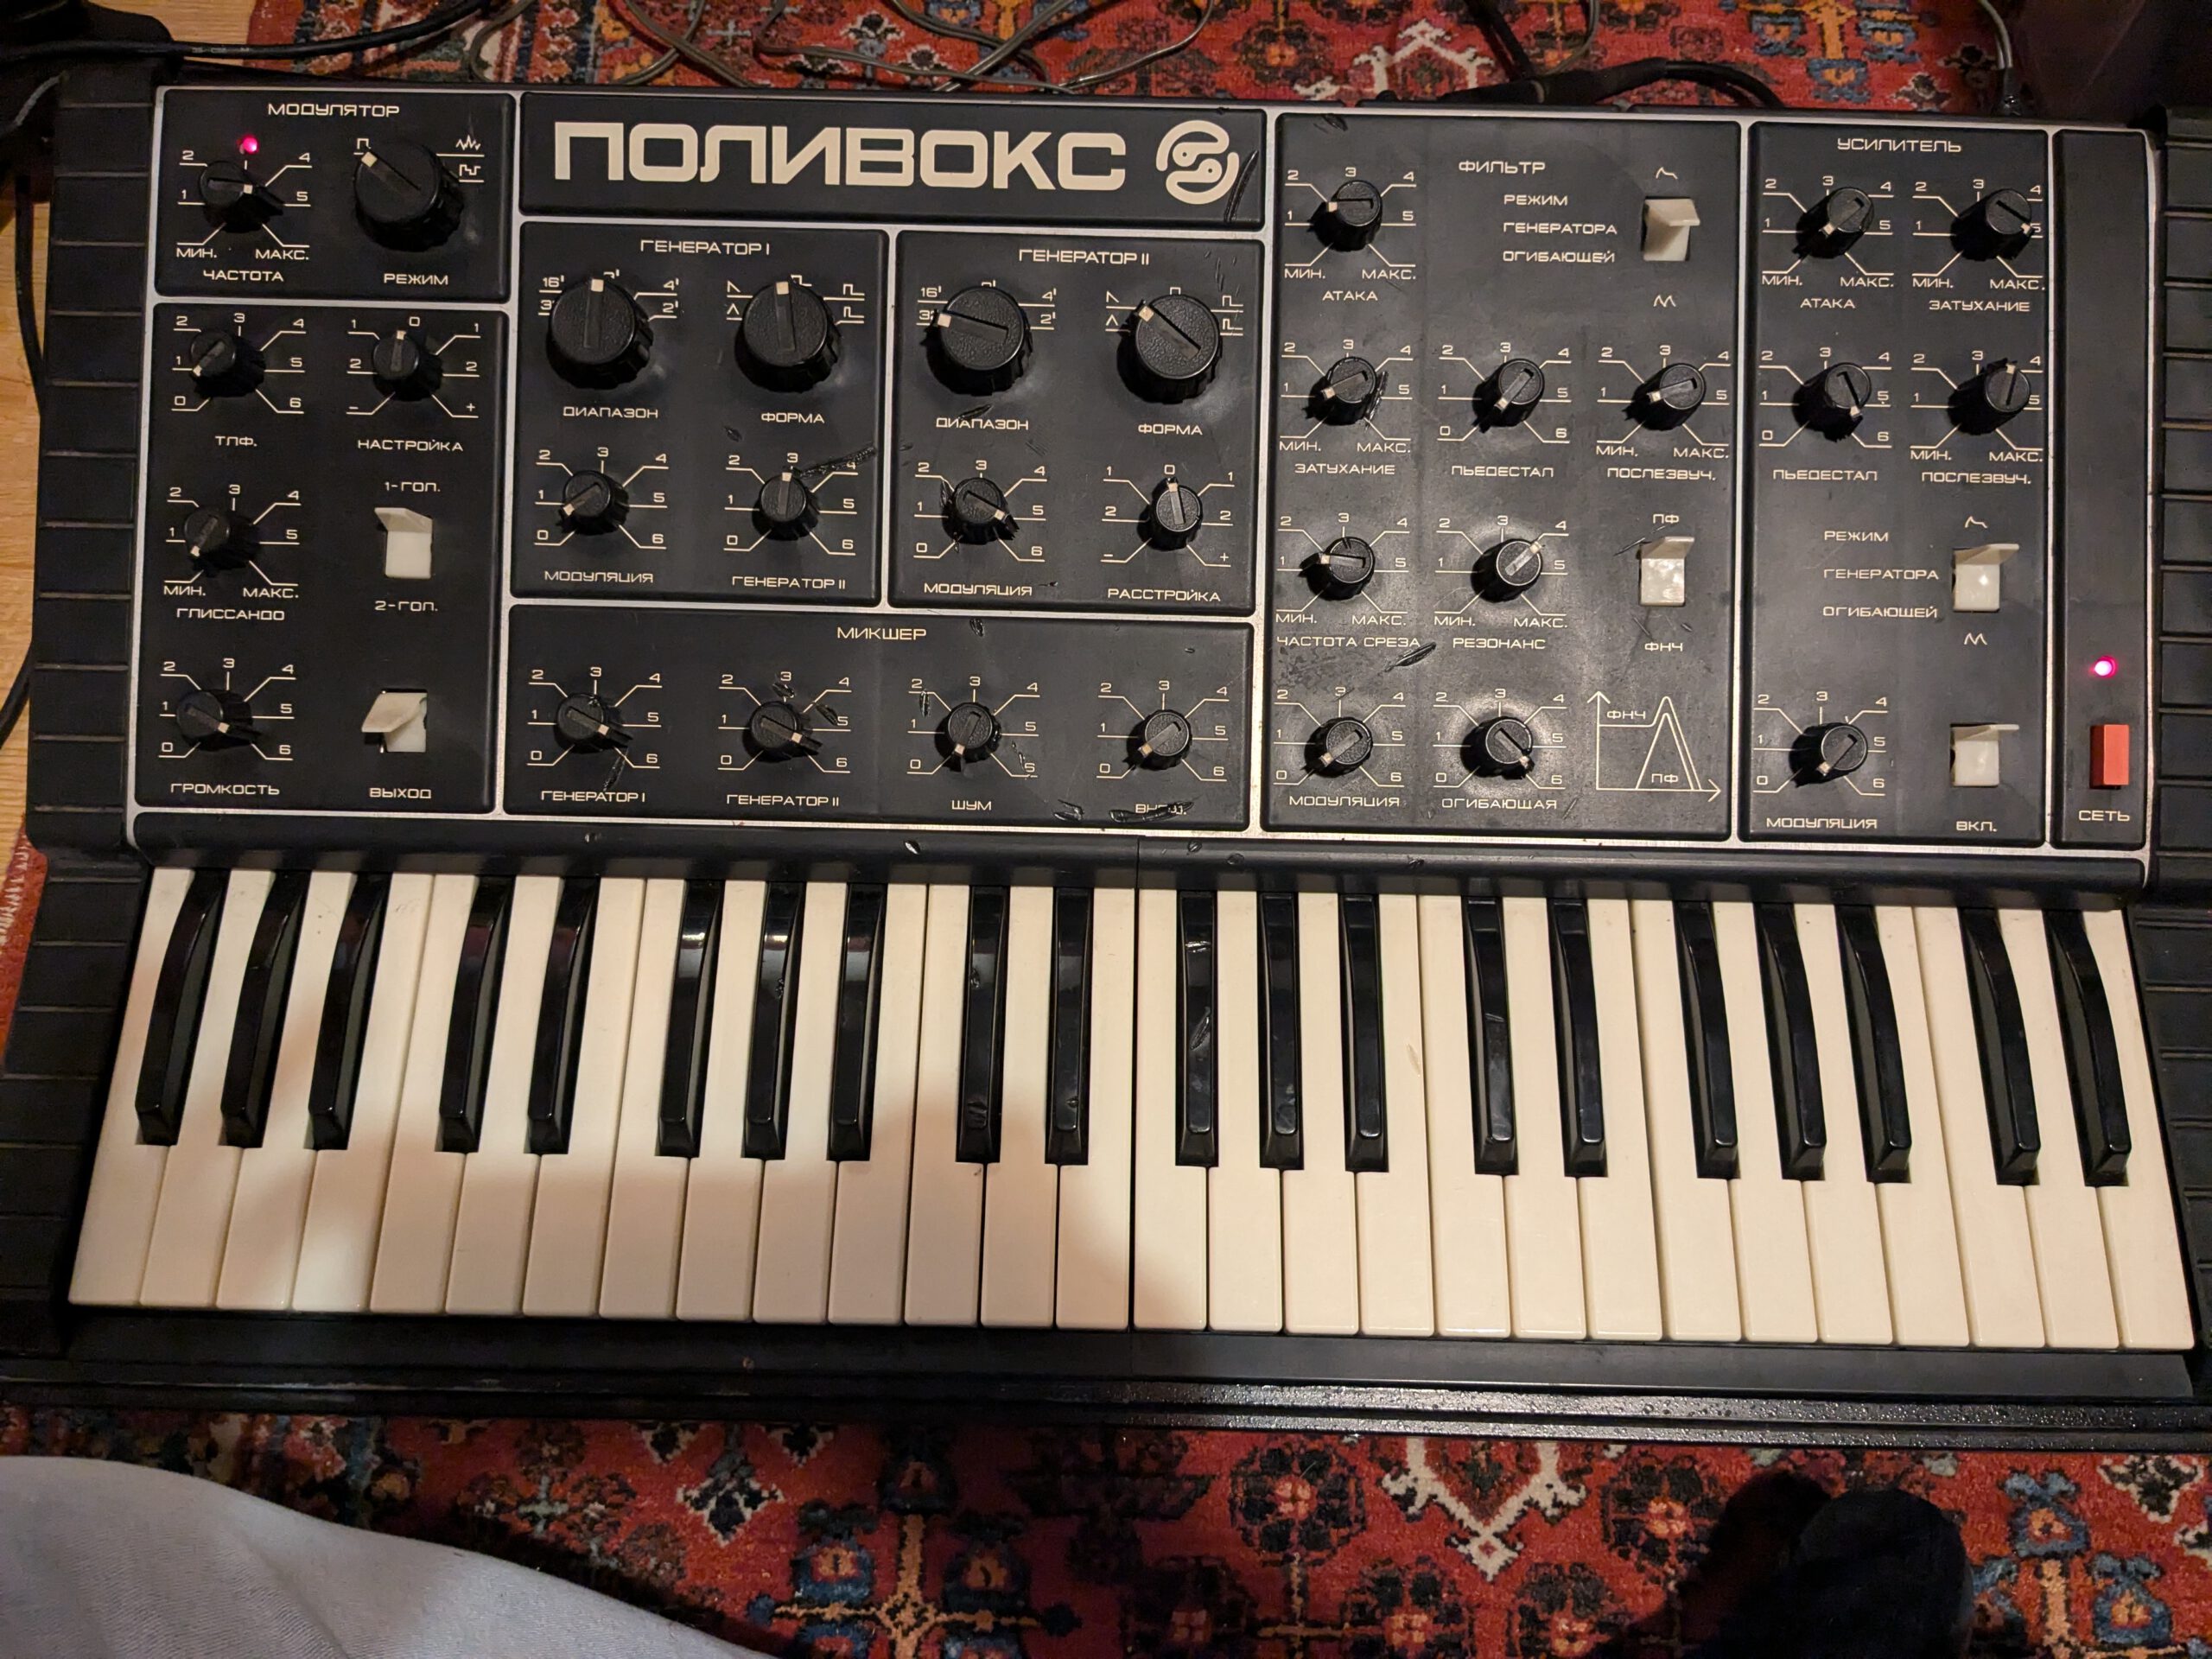
The Polivoks actually worked quite well. All the controls were functioning, and I didn’t notice anything unusual, apart from the keyboard, which is the worst keyboard I’ve ever played on. Apparently the keyboard action was as it should as I read on the internet.
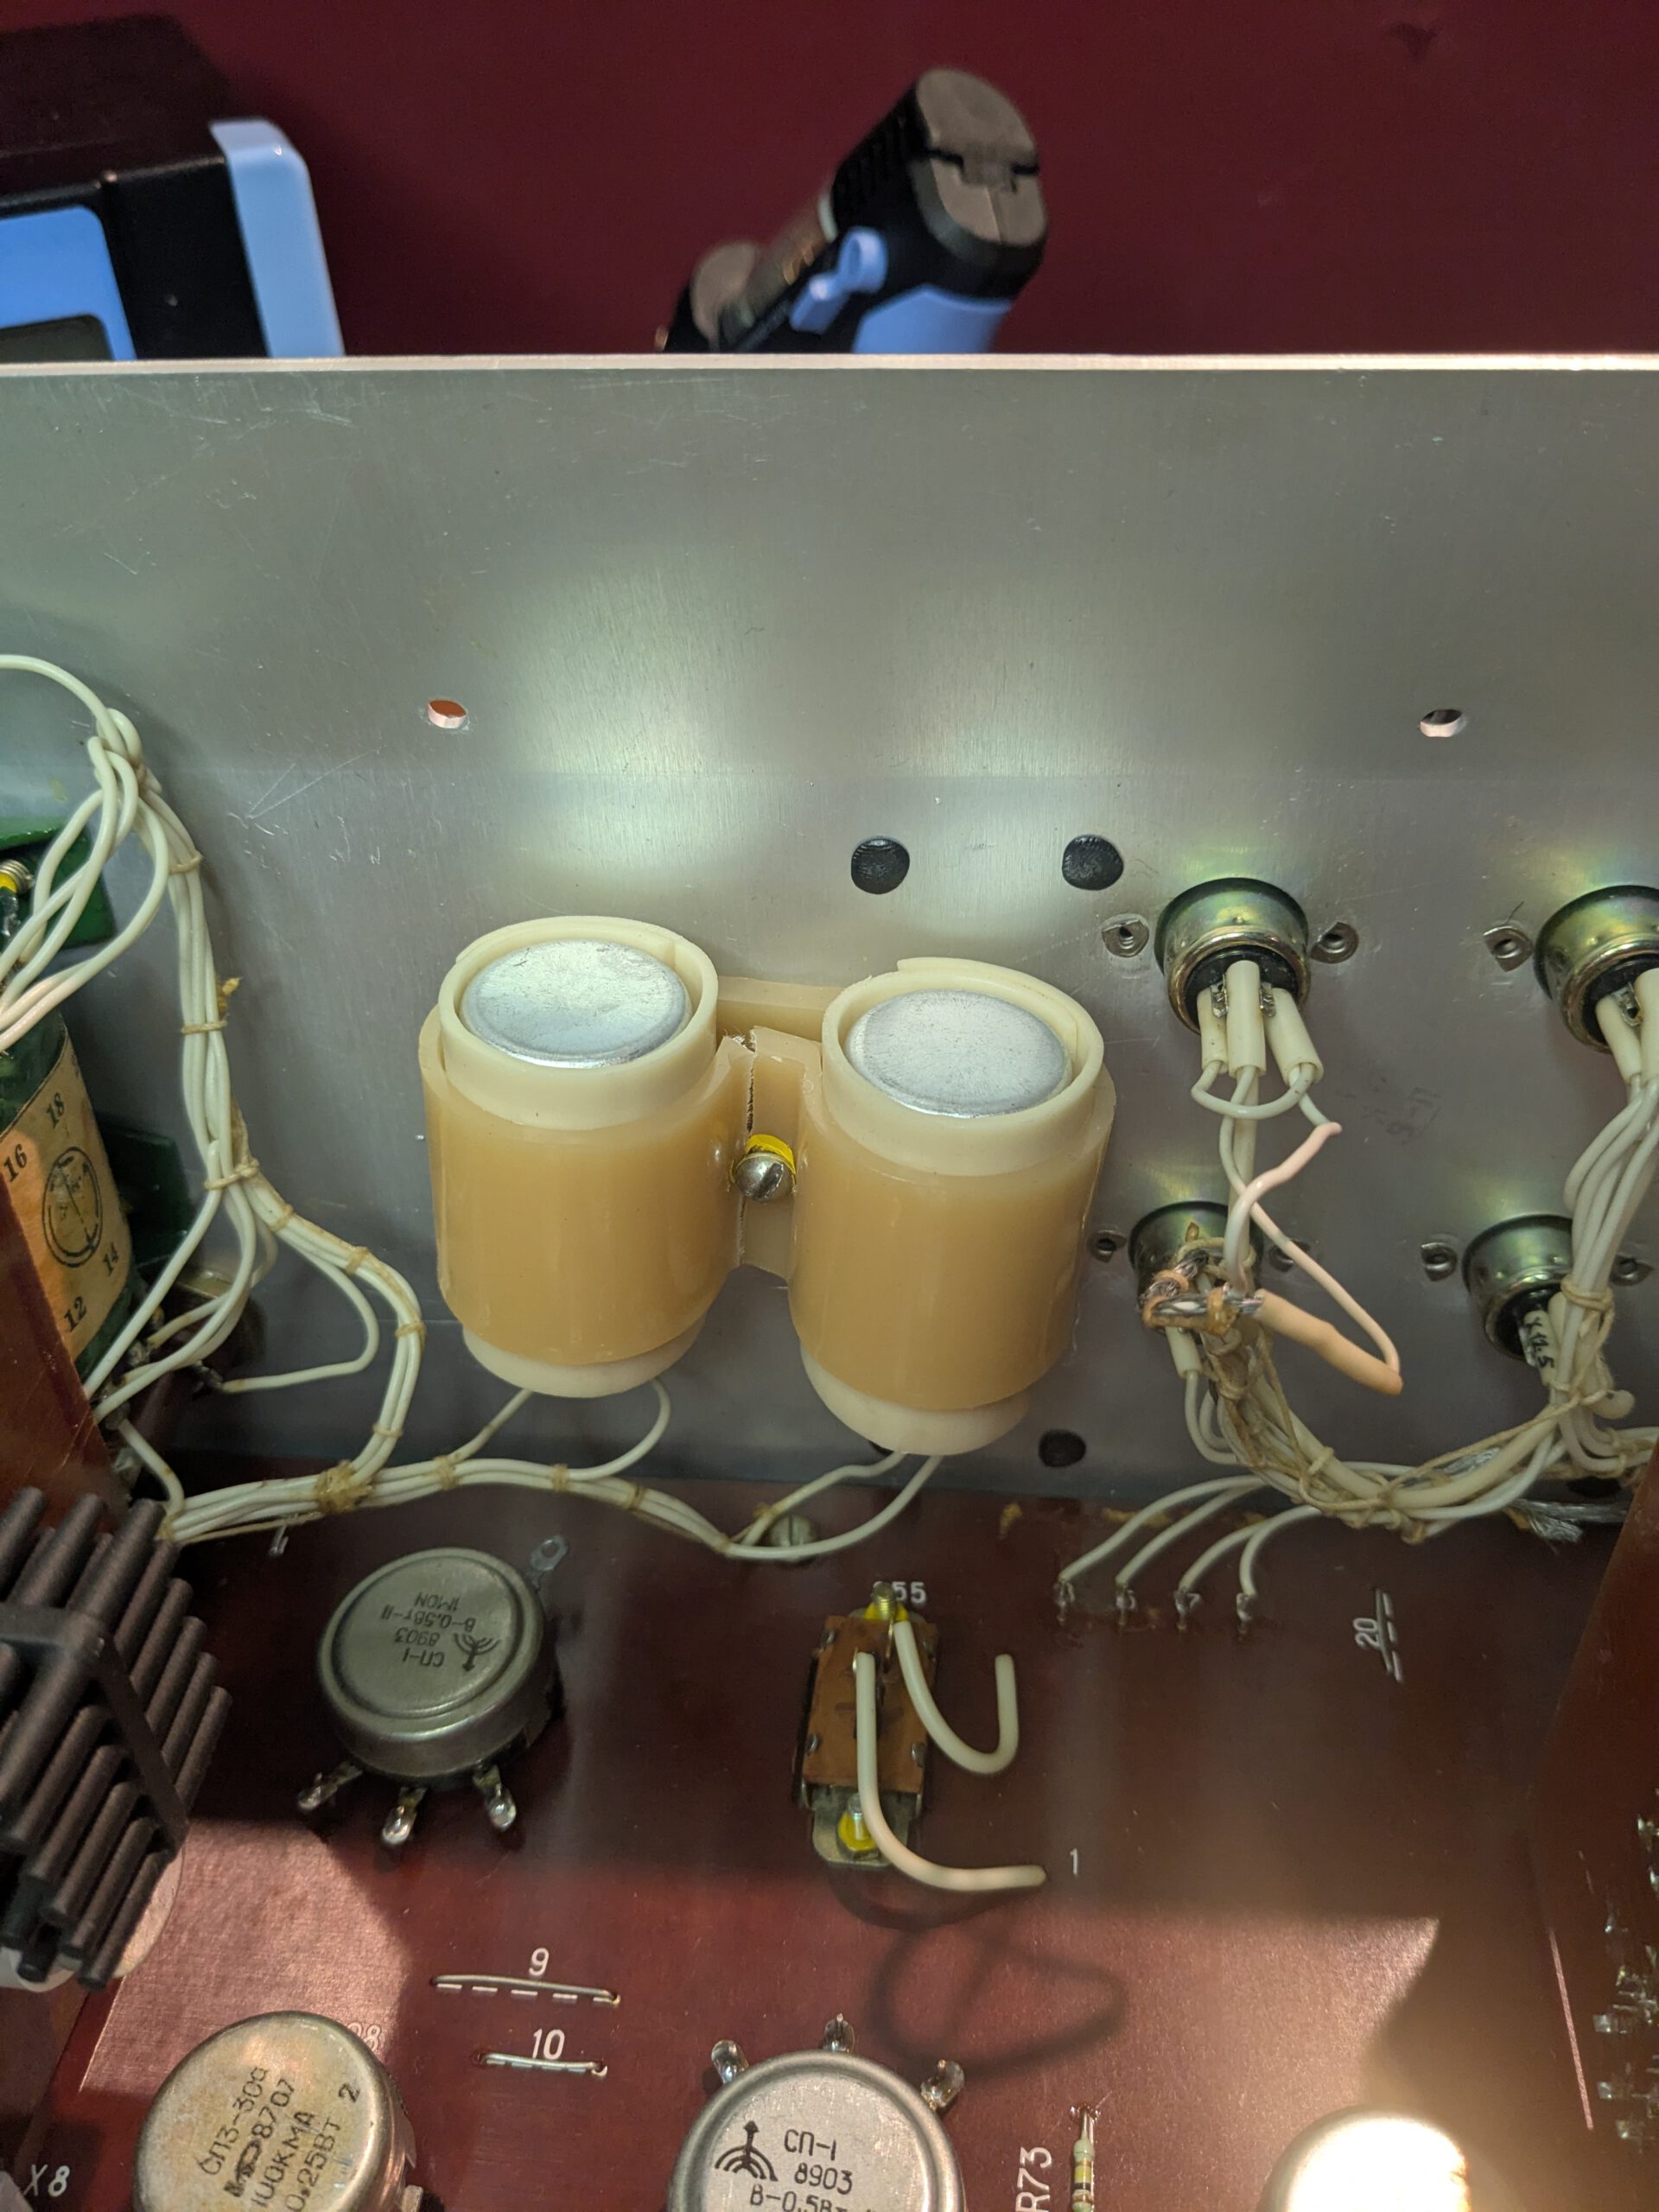
The only thing I still wanted to do was replace the power supply capacitors. You can swap them out with two 2000µF 50V capacitors. The capacitors are mounted in a rather awkward way inside the case. The plastic bracket holding the capacitors was cracked, so I made a temporary replacement and secured it with a zip tie. That worked well.
5. Conclusion
Another classic synth saved! This time it took a bit longer than expected to pinpoint the fault. Unexpected, since it was clear right away that the issue had to be on the VCO board.
In the end, I learned once again that a good visual inspection can be just as important as measurements.
So, is the Polivoks fully working now?
Yes, it’s working but I’d still like to do a modification. The Polivoks doesn’t have CV/Gate inputs, so I can’t control it from my DAW. .Luckily, there’s a mod for that, I already have the schematic, and at first glance, it looks doable.
So, in short, another project might be on the horizon!