
- Purchase
- Cleaning the Cat
- The first run
- J-wire madness
- Fixing the oscillator
- Replacing the trimpots
- Fixing the keybed
- The finishing touch
- Conclusion
- Documents
1. Purchase
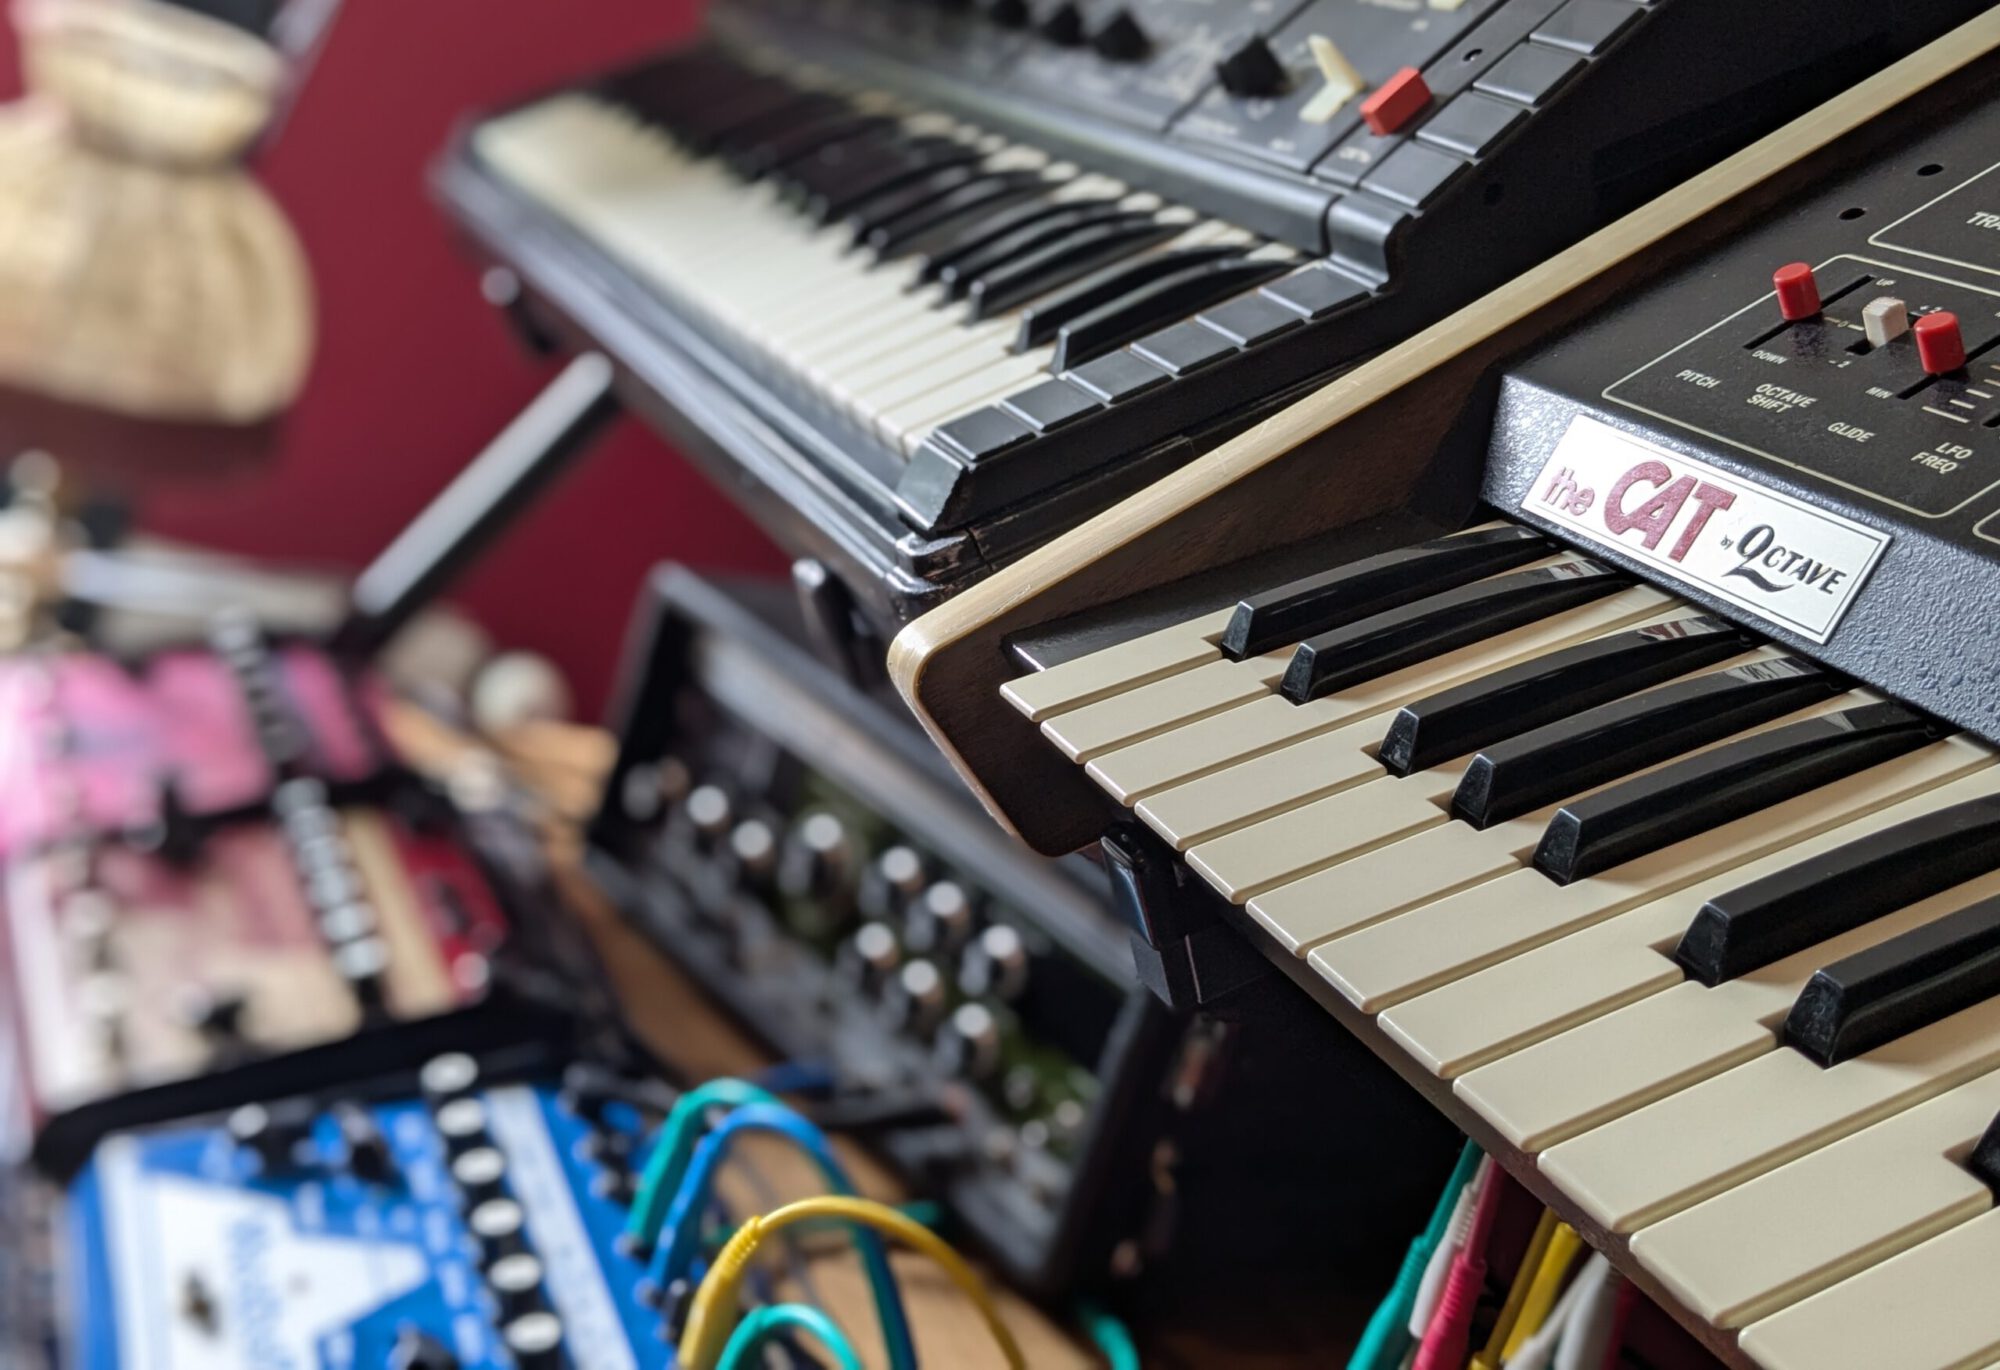
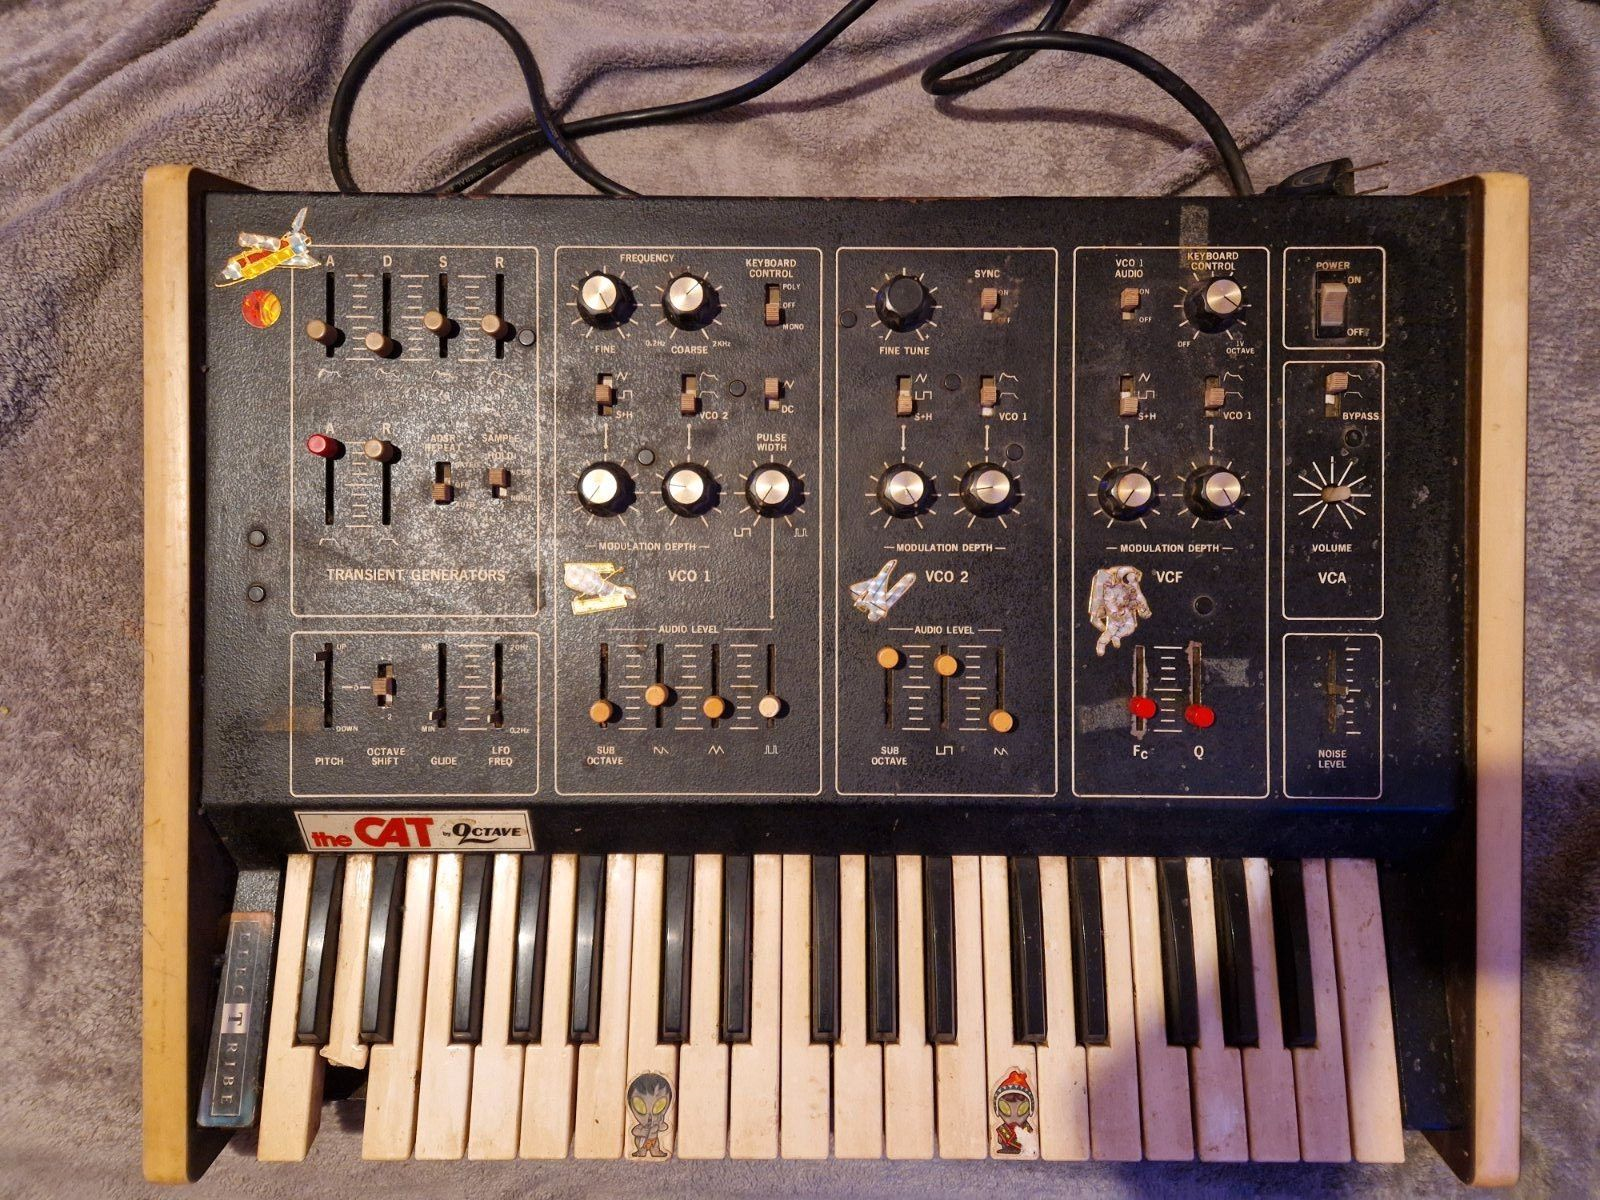
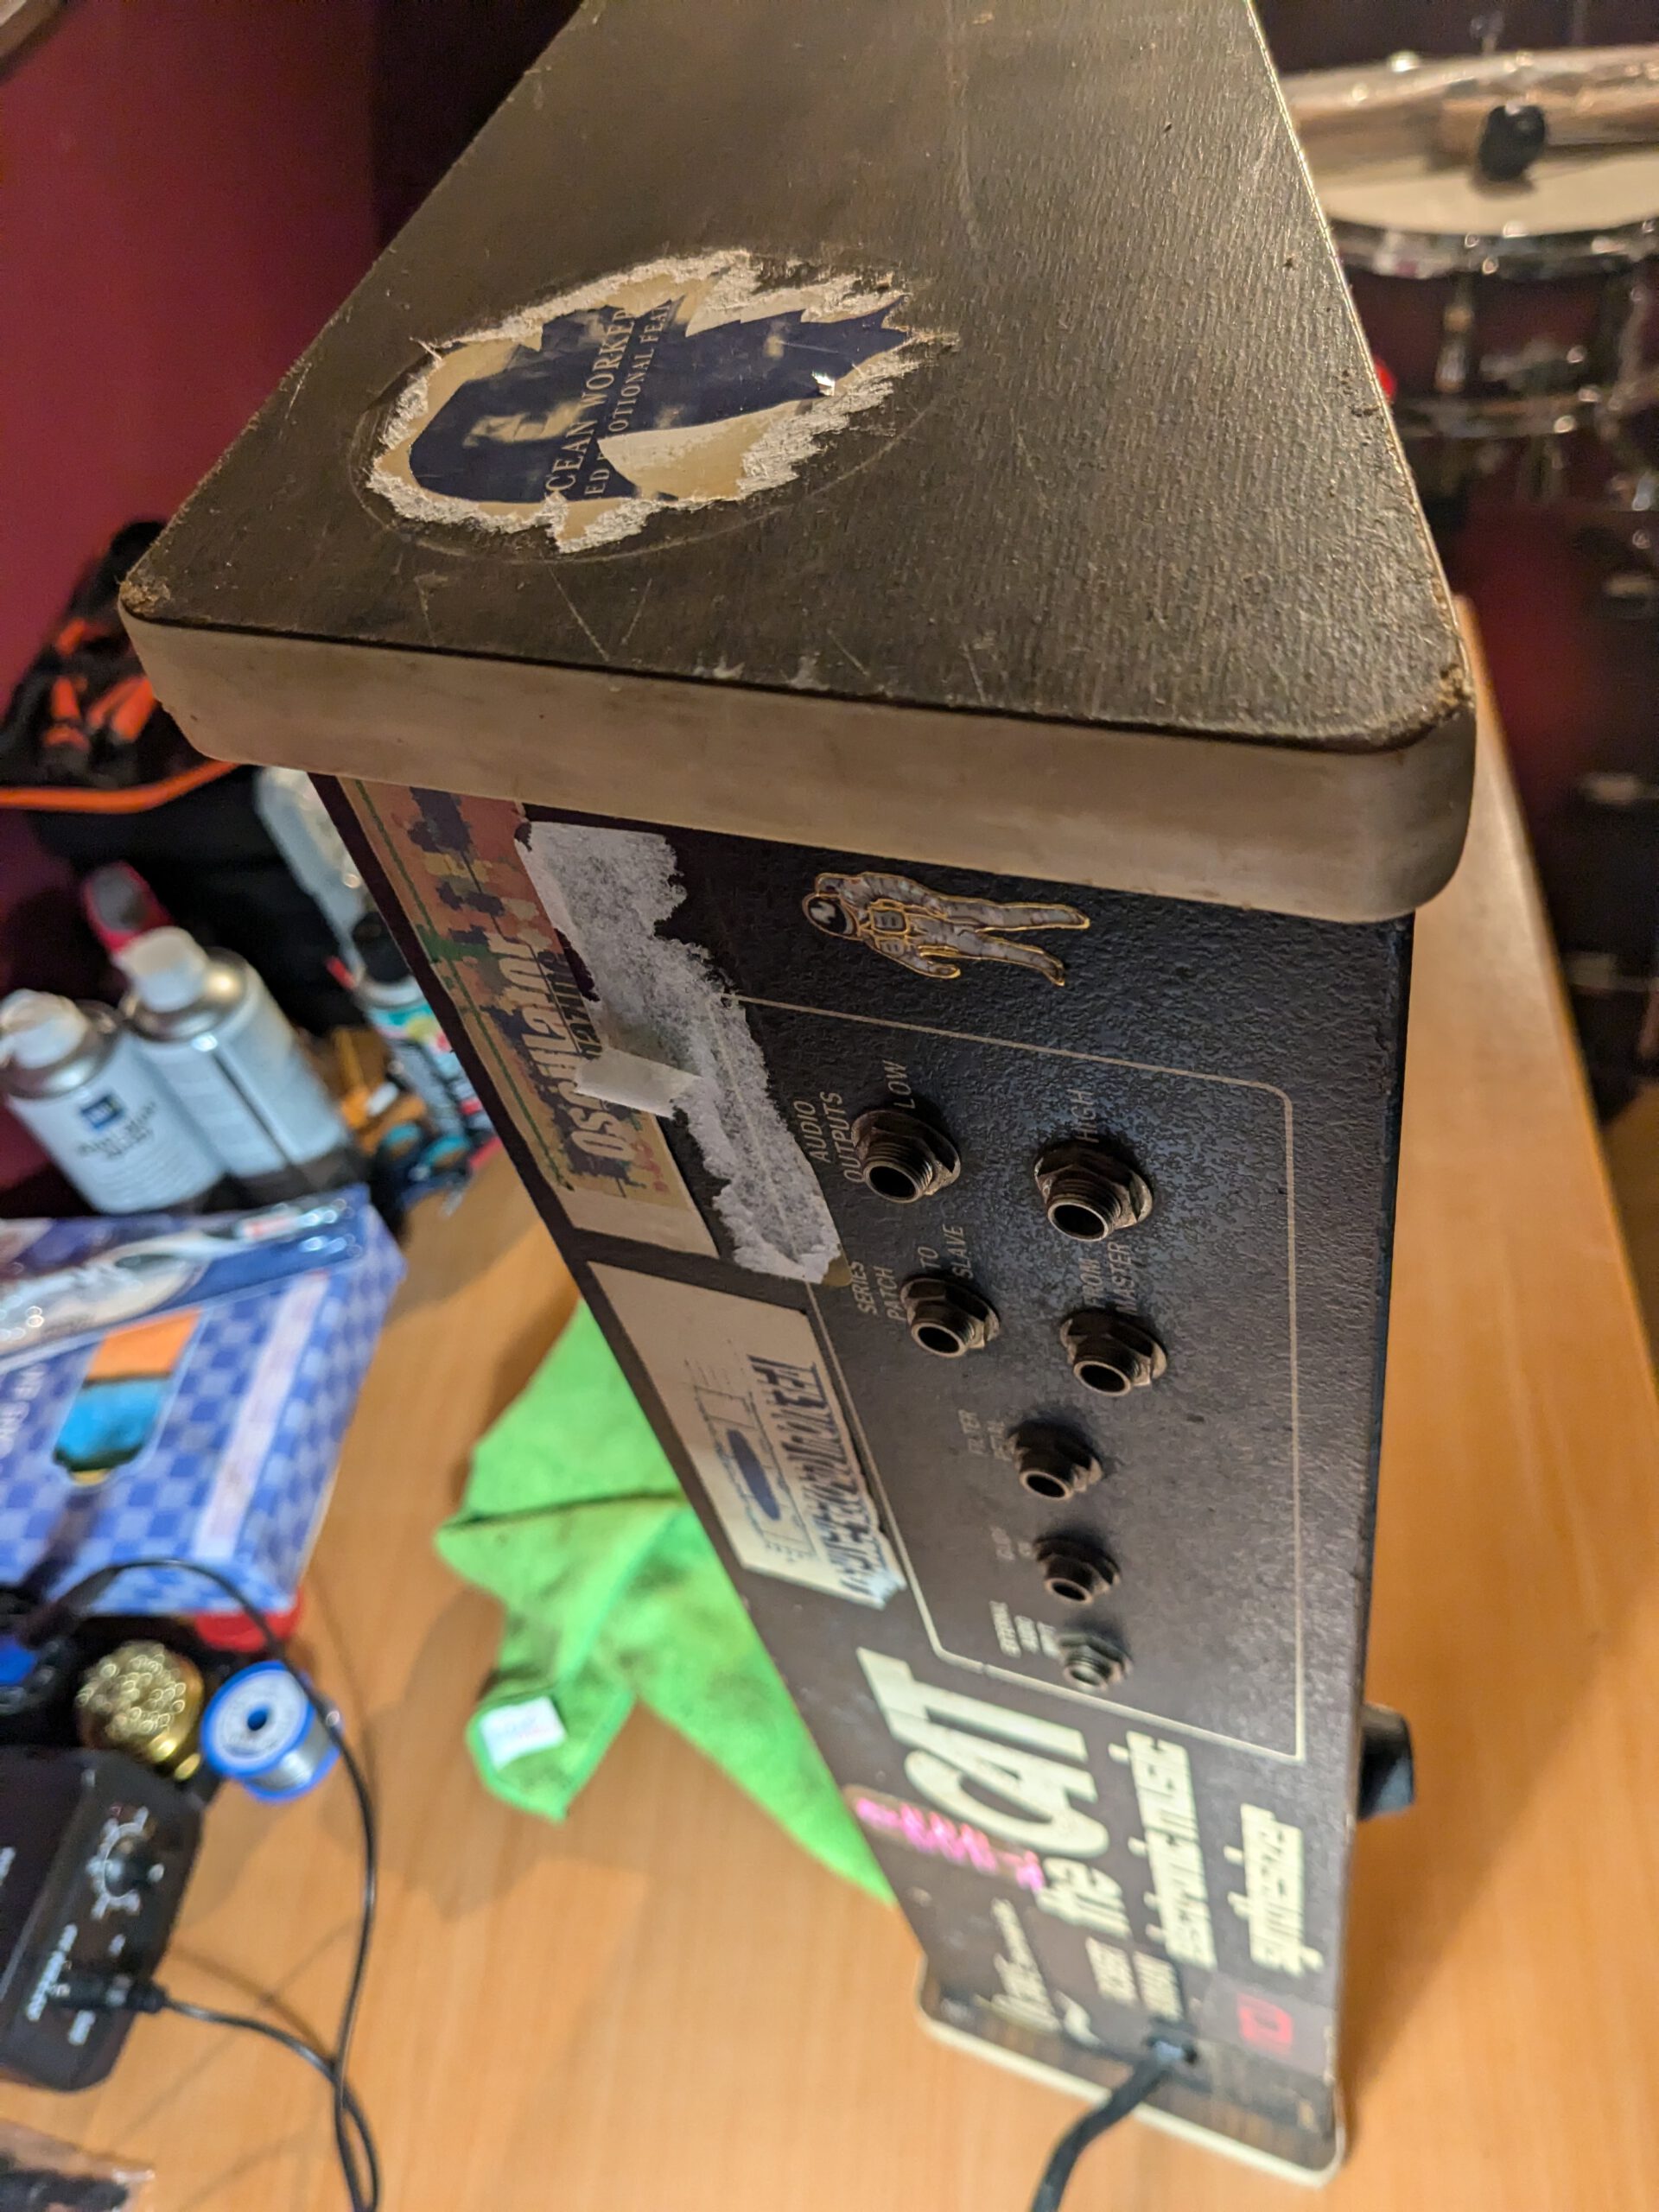
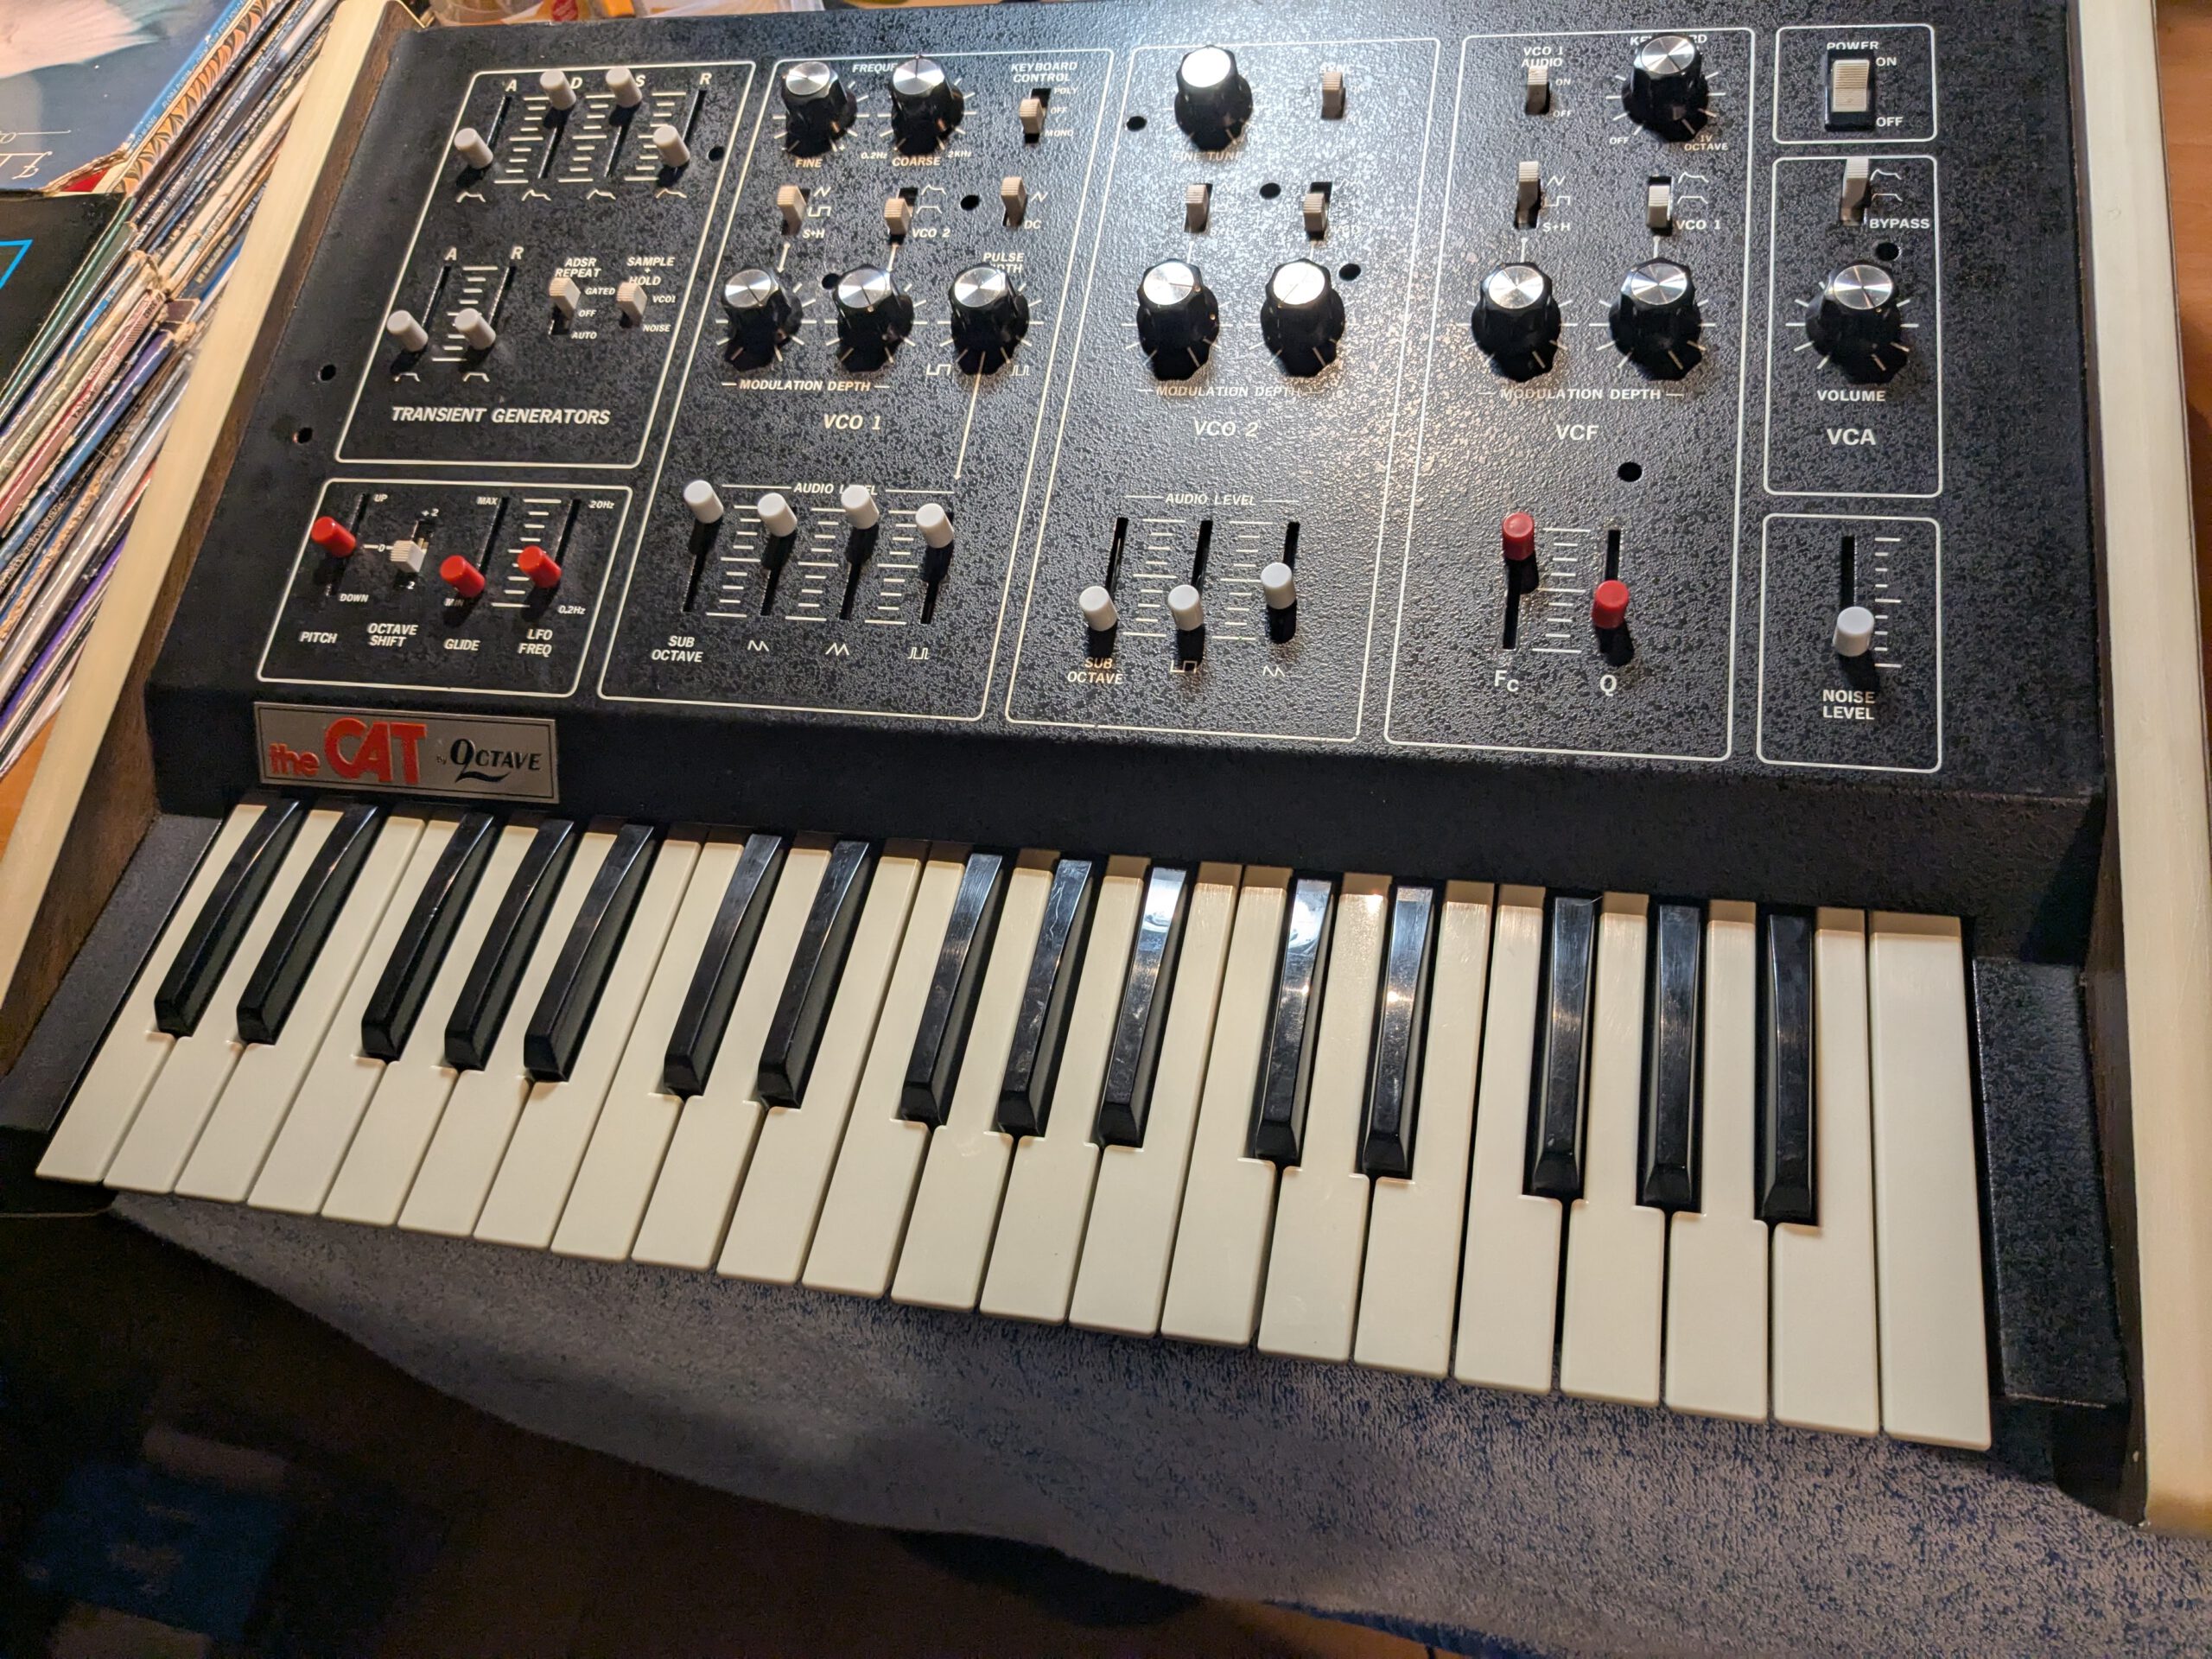
Alright, I’ve got everything I need at home to get started, so it’s time to look for my first project! I came across an ad on German eBay for an Octave Cat synthesizer in terrible condition, listed at 1500 euros. According to the seller, it still worked, but he couldn’t test it because it was a US model running on 120V and he didn’t have the right fuse. I decided to make an offer well below the asking price, and in the end, I managed to get it for 400 euros. Great! That gave me some room to fix it up, because as you can see, there’s quite a bit wrong with it. And something tells me that fuse didn’t blow without a reason…
2. Cleaning the Cat
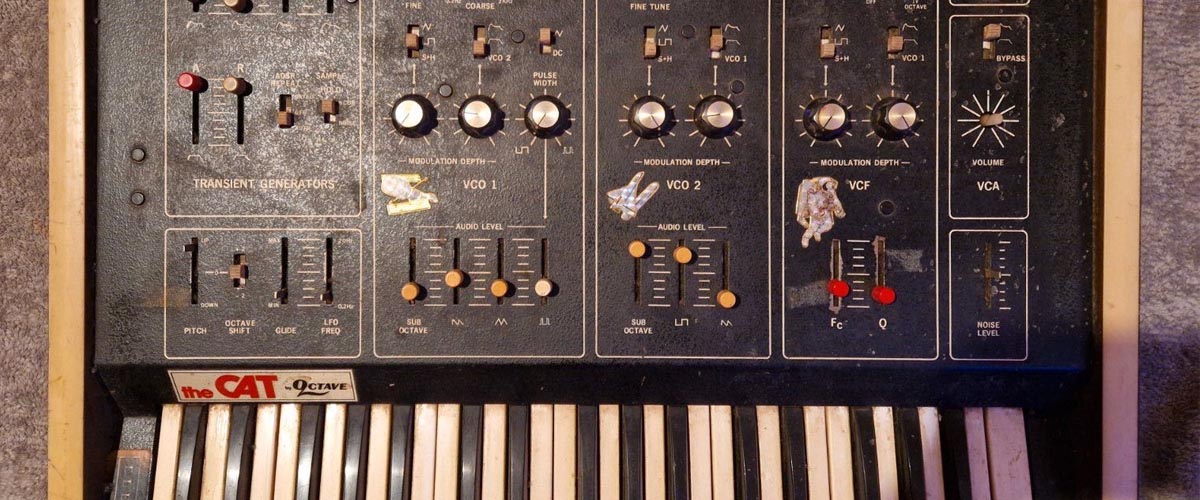
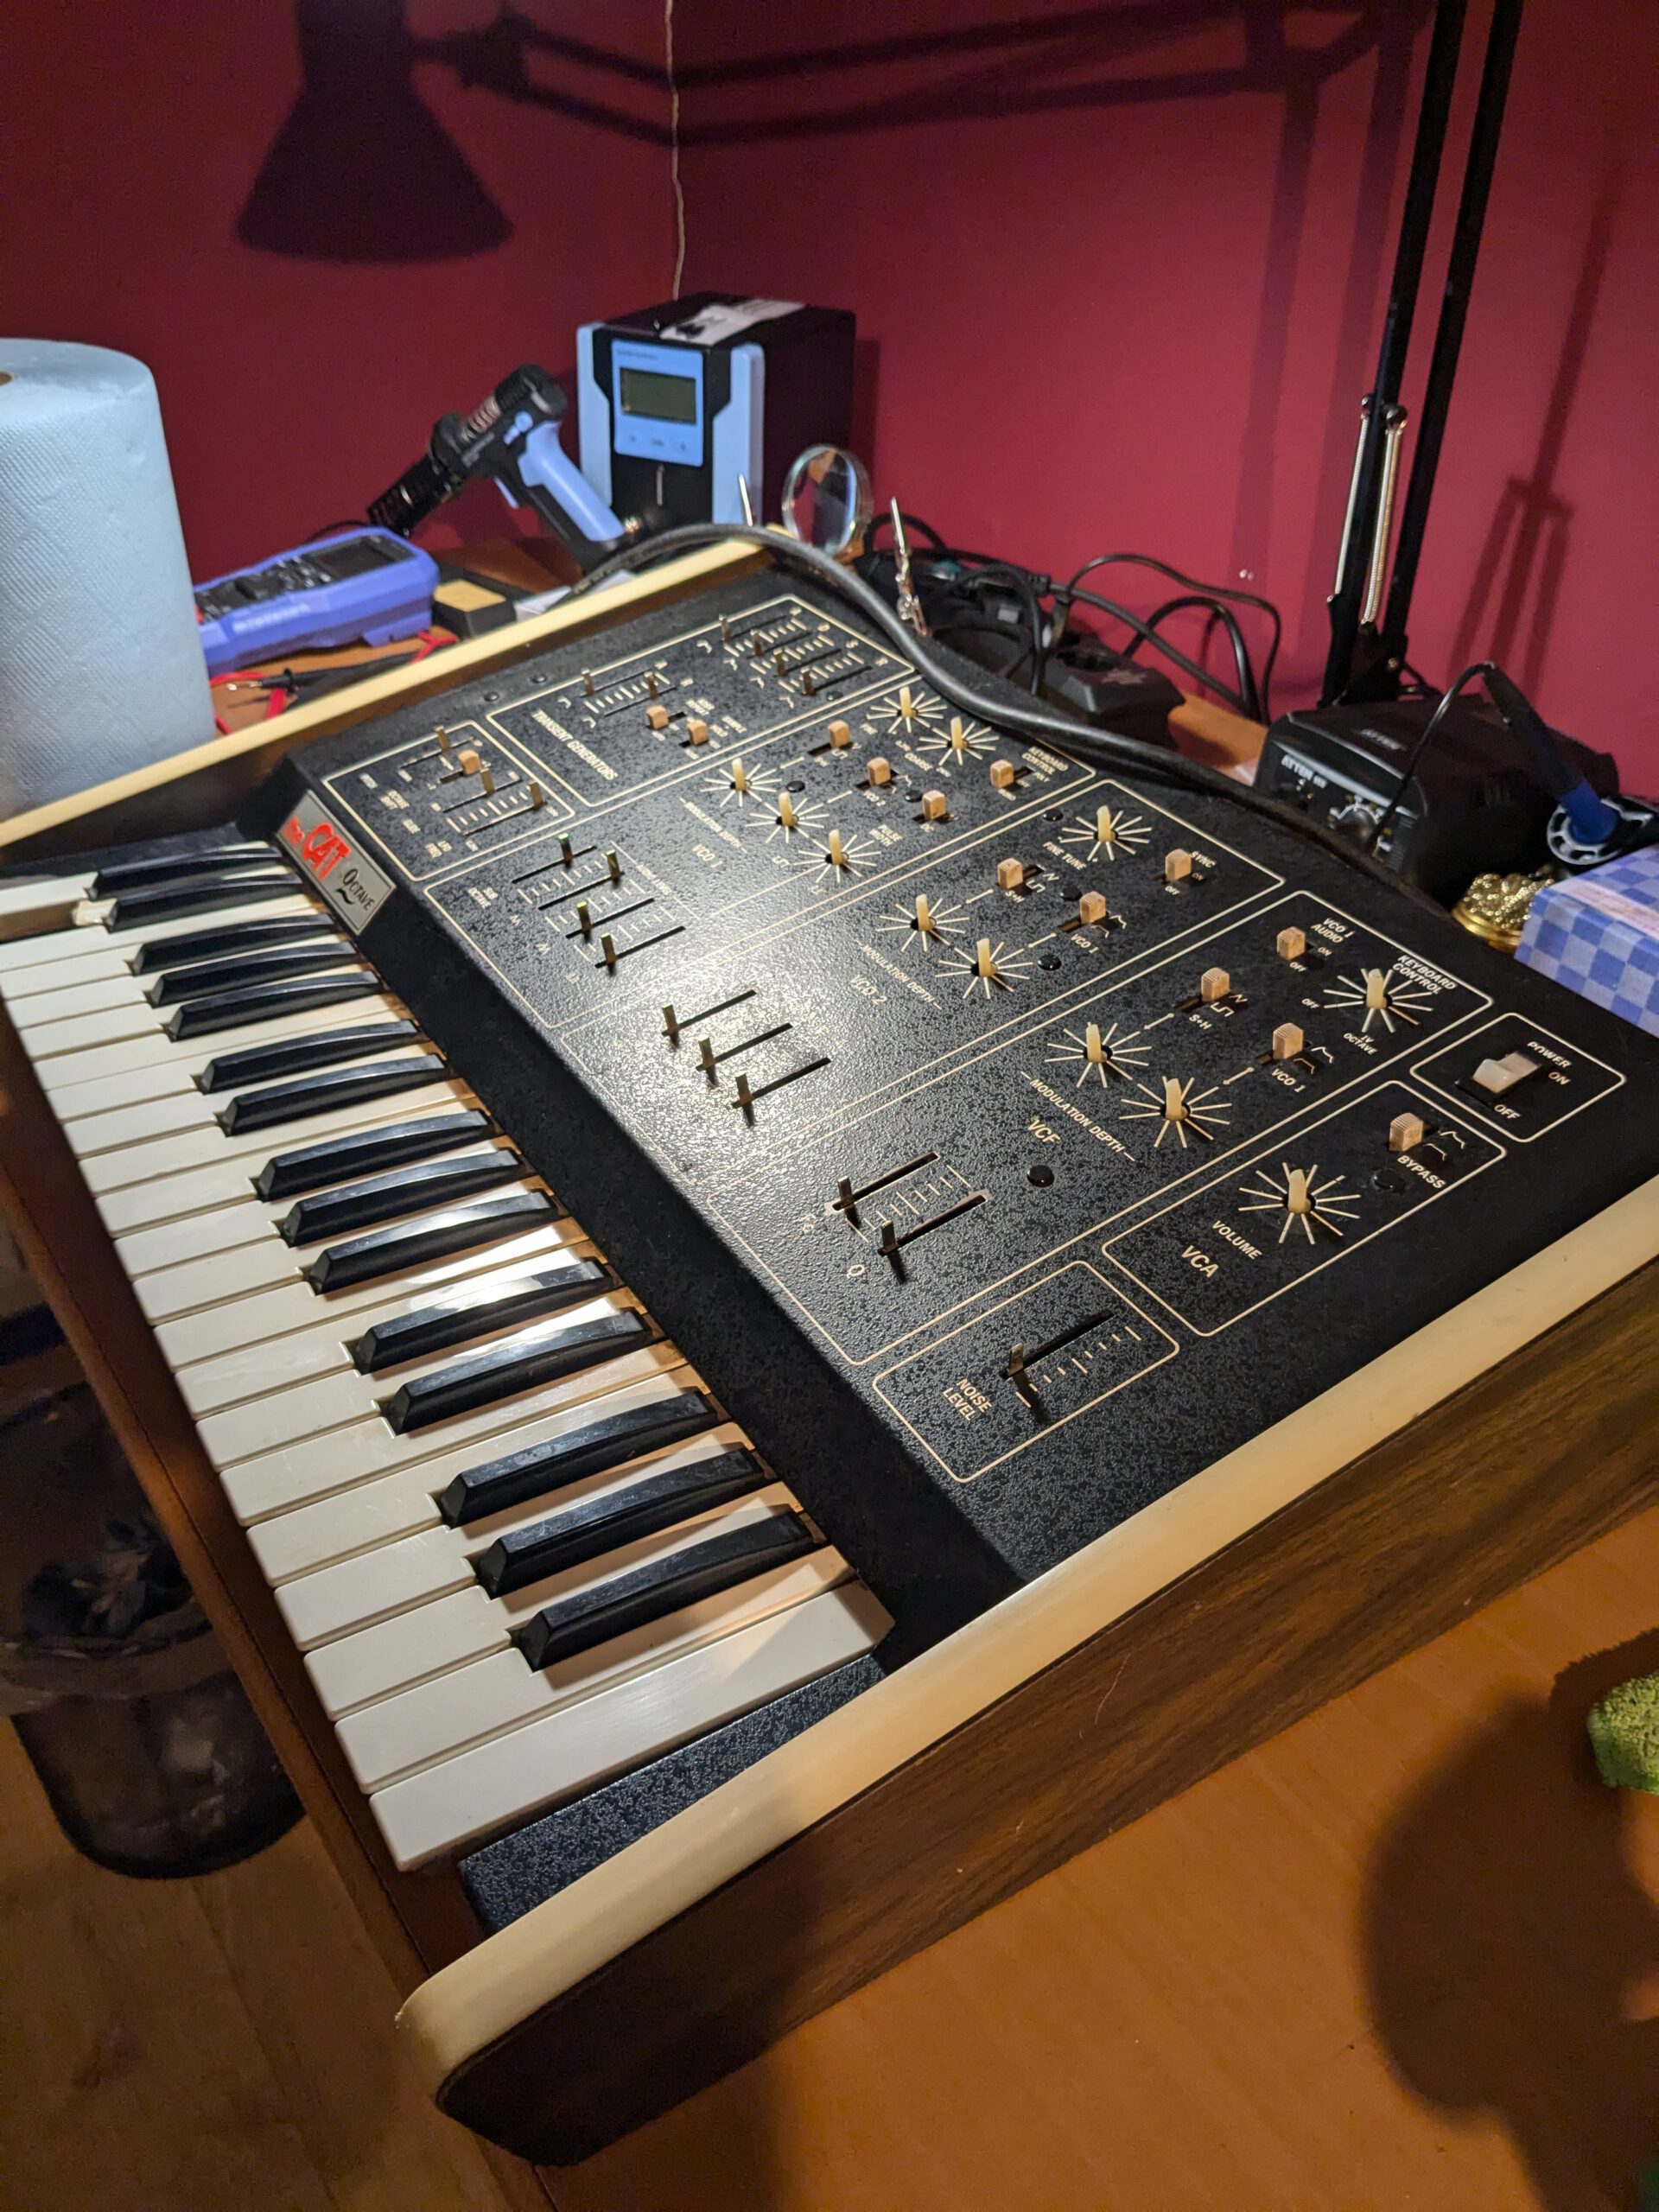
After the Octave Cat arrived, I decided to give it a good cleaning right away. I didn’t have a step-down voltage converter and the correct fuse yet, so I couldn’t really test it anyway. I peeled off all the stickers and carefully scraped off the leftovers with a plastic spatula. The rest came off easily with some sticker remover. I also cleaned everything, including the keys, with a degreaser. The result was satisfying!

I went ahead and gave the inside some attention too. There was a lot of dust in there, a whole lot!

3. The first run
Alright, the step-down voltage converter and fuse have arrived. Time to start testing! I decided to first measure the voltages at the PSU with the connectors disconnected from the power rails. That way, if something was off, the rest of the Cat would be spared. The voltages were just as shown on the schematic. Perfect! The ESR values of the capacitors were still reasonably within spec too. Everything held up, so I reconnected the PSU and powered it on.
As soon as I turned it on, there was a lot of noise. Maybe the noise generator is active? Yes, that was the case. I tried to get some other sounds out of the Cat, but only the top 8 keys were working. I decided to measure the CV at the keybed output. The top keys showed activity, but the ones below didn’t respond much. Time to take a look at the keybed.
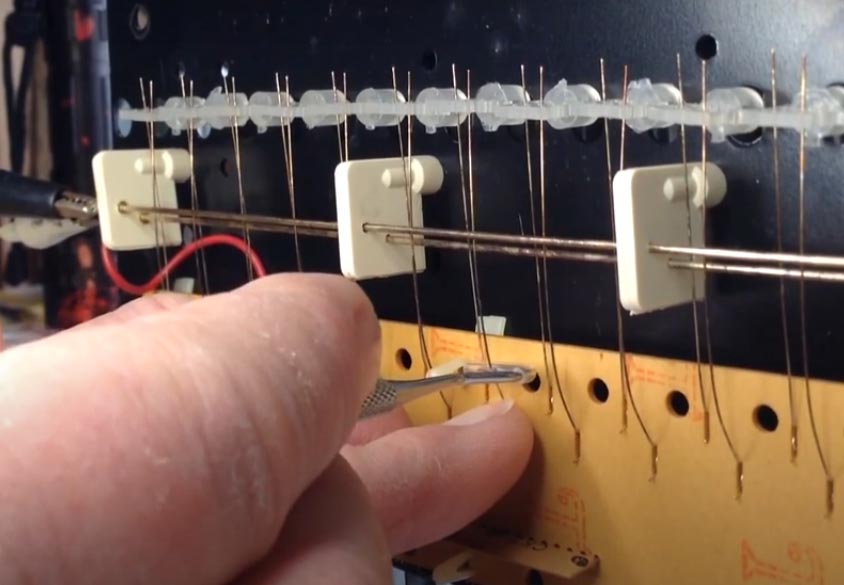
4. J-wire madness
The Octave Cat has a Pratt & Read keybed with so-called J-wires. These are nickel-plated steel wires that act as electrical contacts, closing the circuit when a key is pressed. There’s one for CV and one for gate. The idea is that they touch the bus bars in a specific order when a key is triggered. The CV should connect first, followed by the gate. If this happens too early or too late, the pitch can glide, like portamento is on. That was exactly what was happening with the top keys.
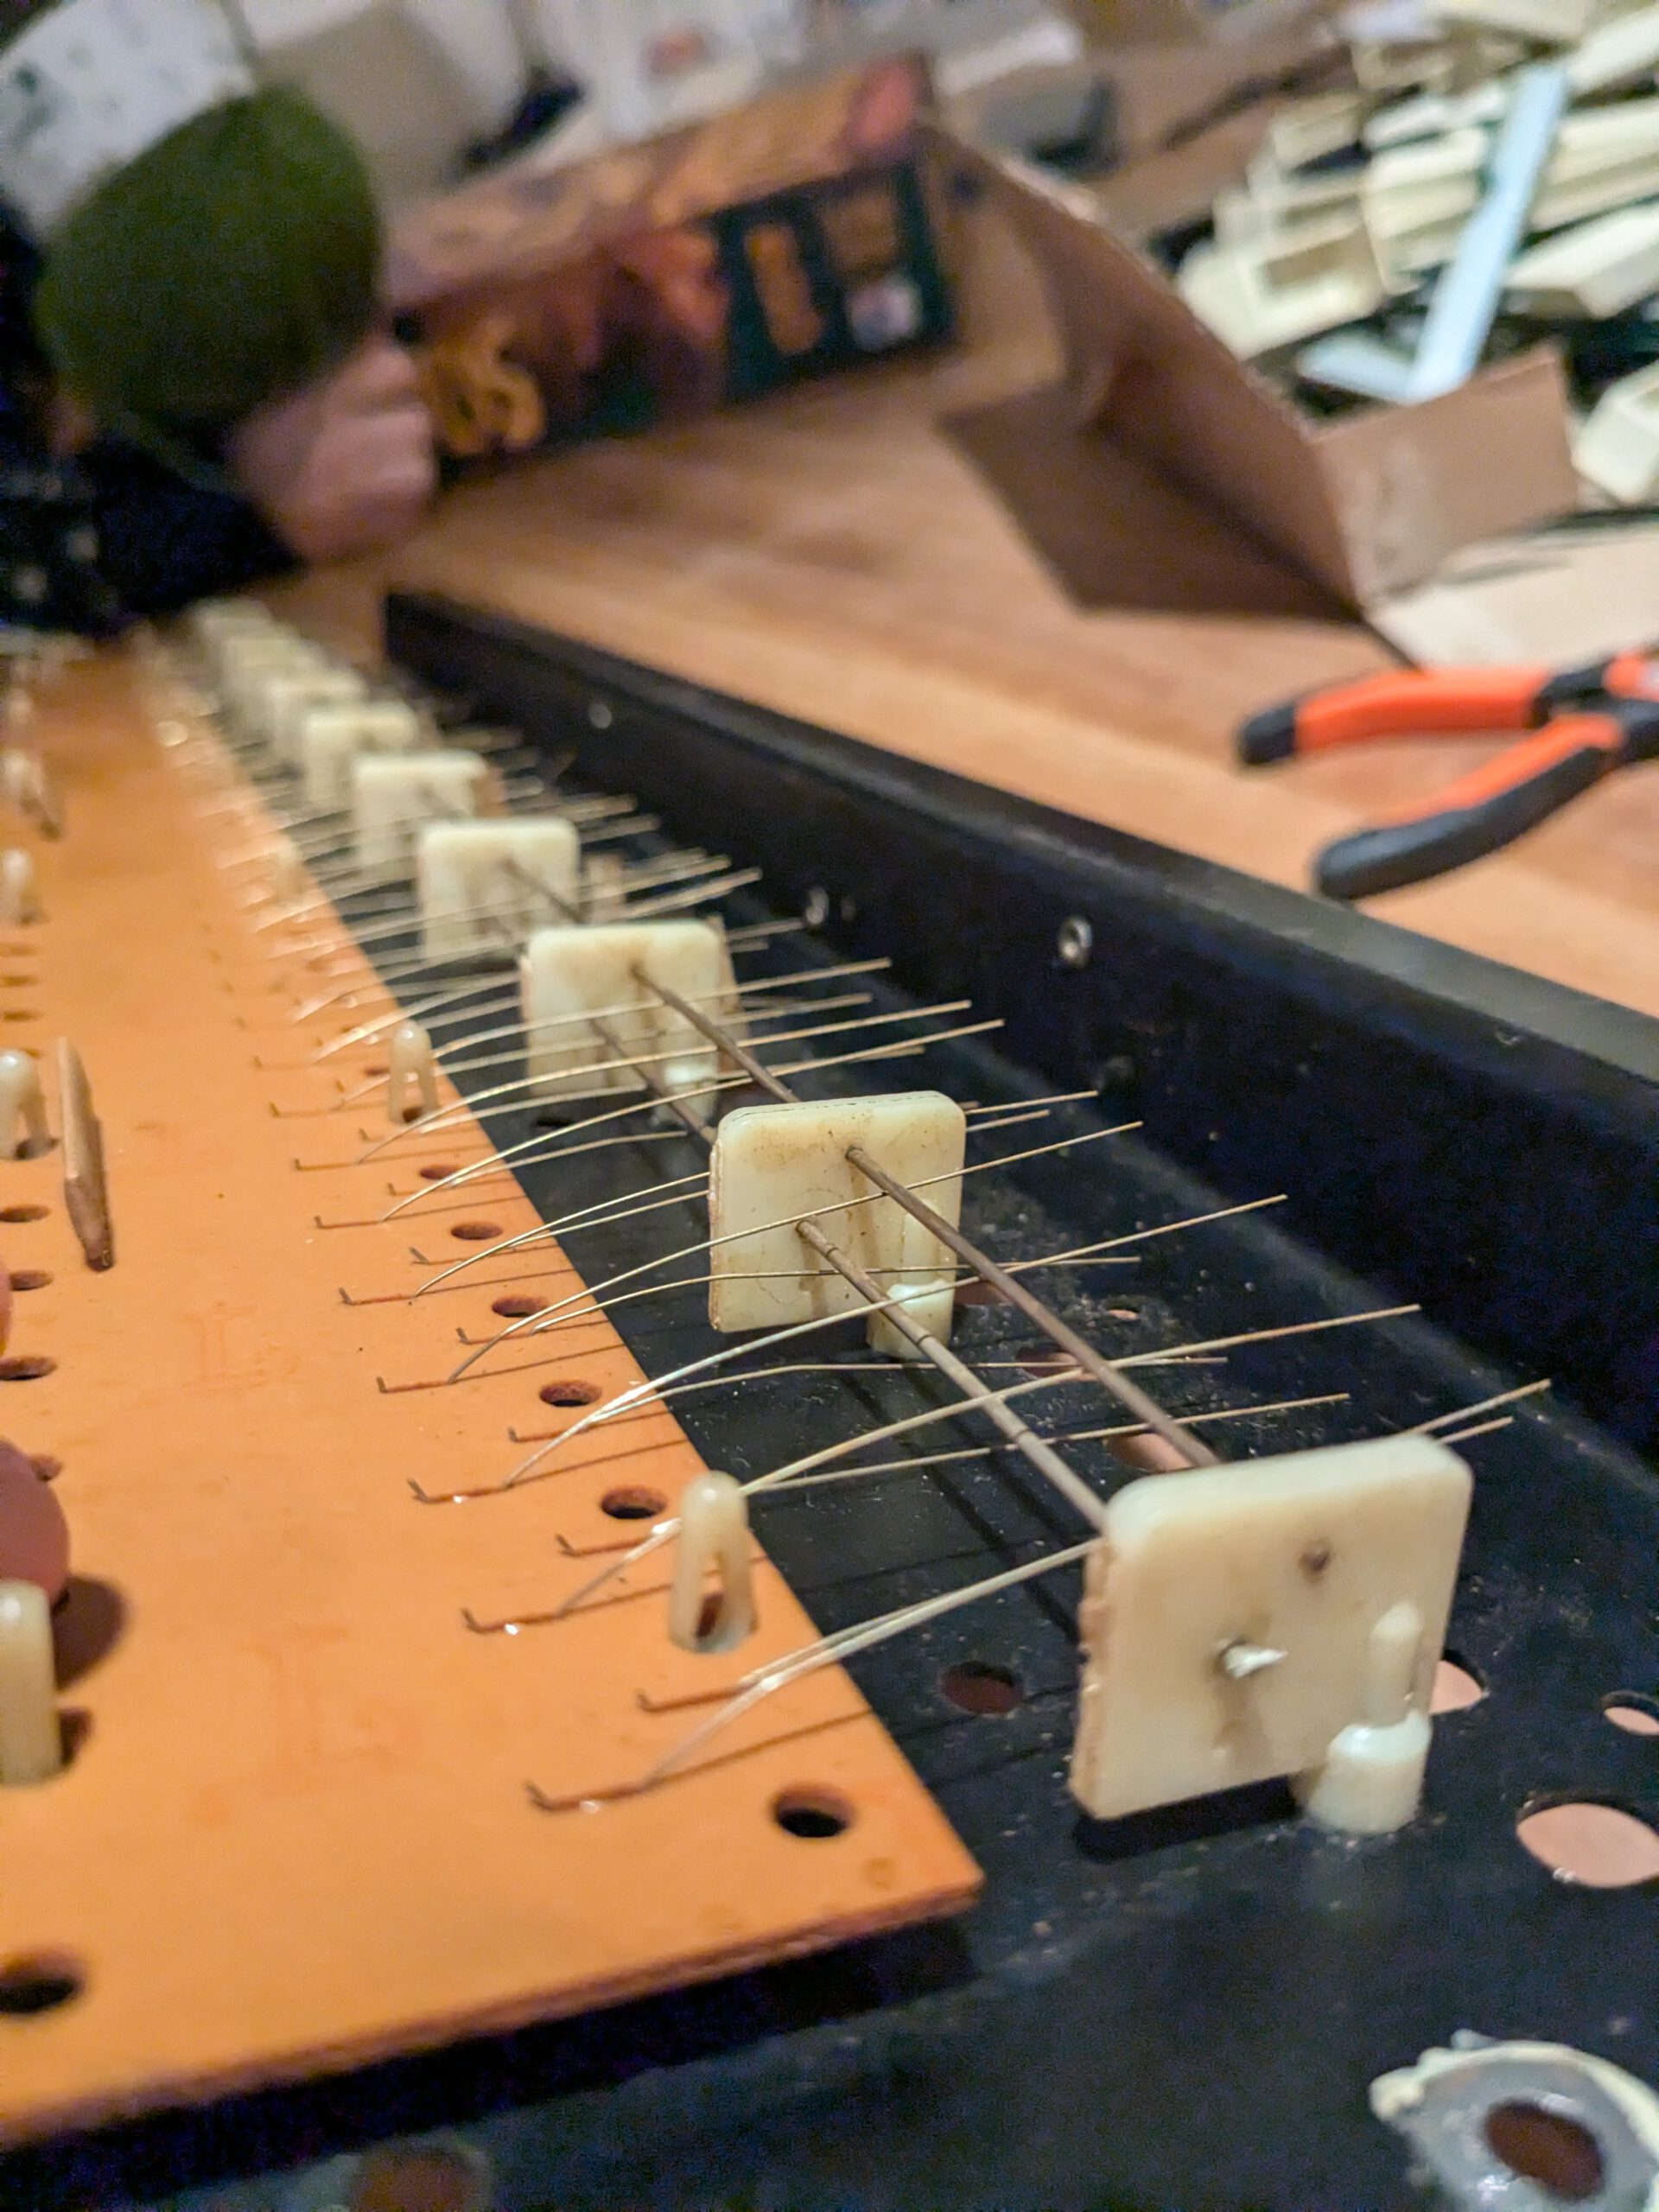
I couldn’t clearly see whether the lower keys were hitting the bus bars in the correct order, but I did notice they were corroded. I decided to carefully clean all the J-wires with isopropyl alcohol. I used small strips of paper sprayed with IPA and gently rubbed them under each J-wire. They were extremely dirty. The notes slowly started coming back, but not all of them worked properly yet. Lots of glides, way too many glides.
This part of restoring the Cat gave me the biggest headache because adjusting the J-wires is very precise work. I found a great video by George Terbush that explains it well. Below is an example of how to best bend the J-wires in relation to the bus bars.
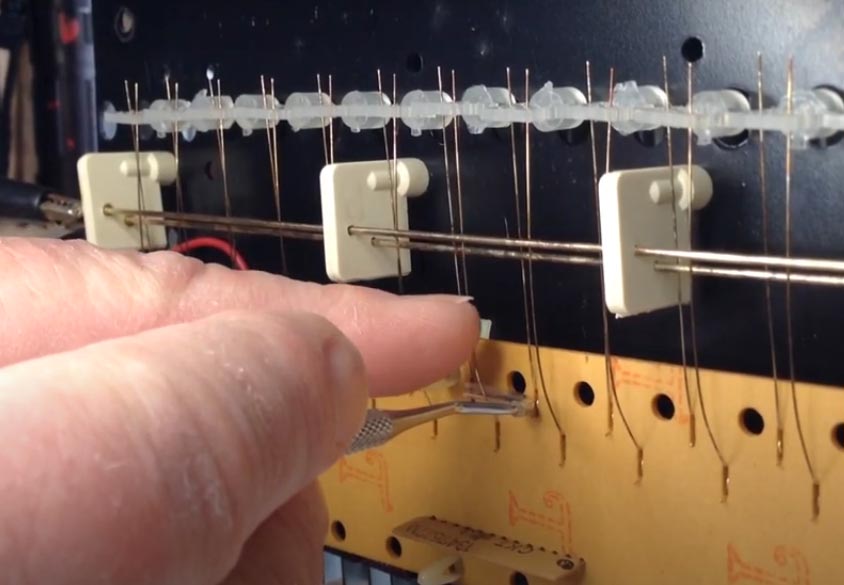
But even after doing all that, it still wasn’t always working properly. There had to be something else wrong. I took a closer look at the keybed and sure enough, one of the mounting screws was missing. There should be four, but mine only had three. I didn’t realize that could have such an impact, but it really did. After fixing that, adjusting the J-wires became much easier.
5. Fixing the oscillator
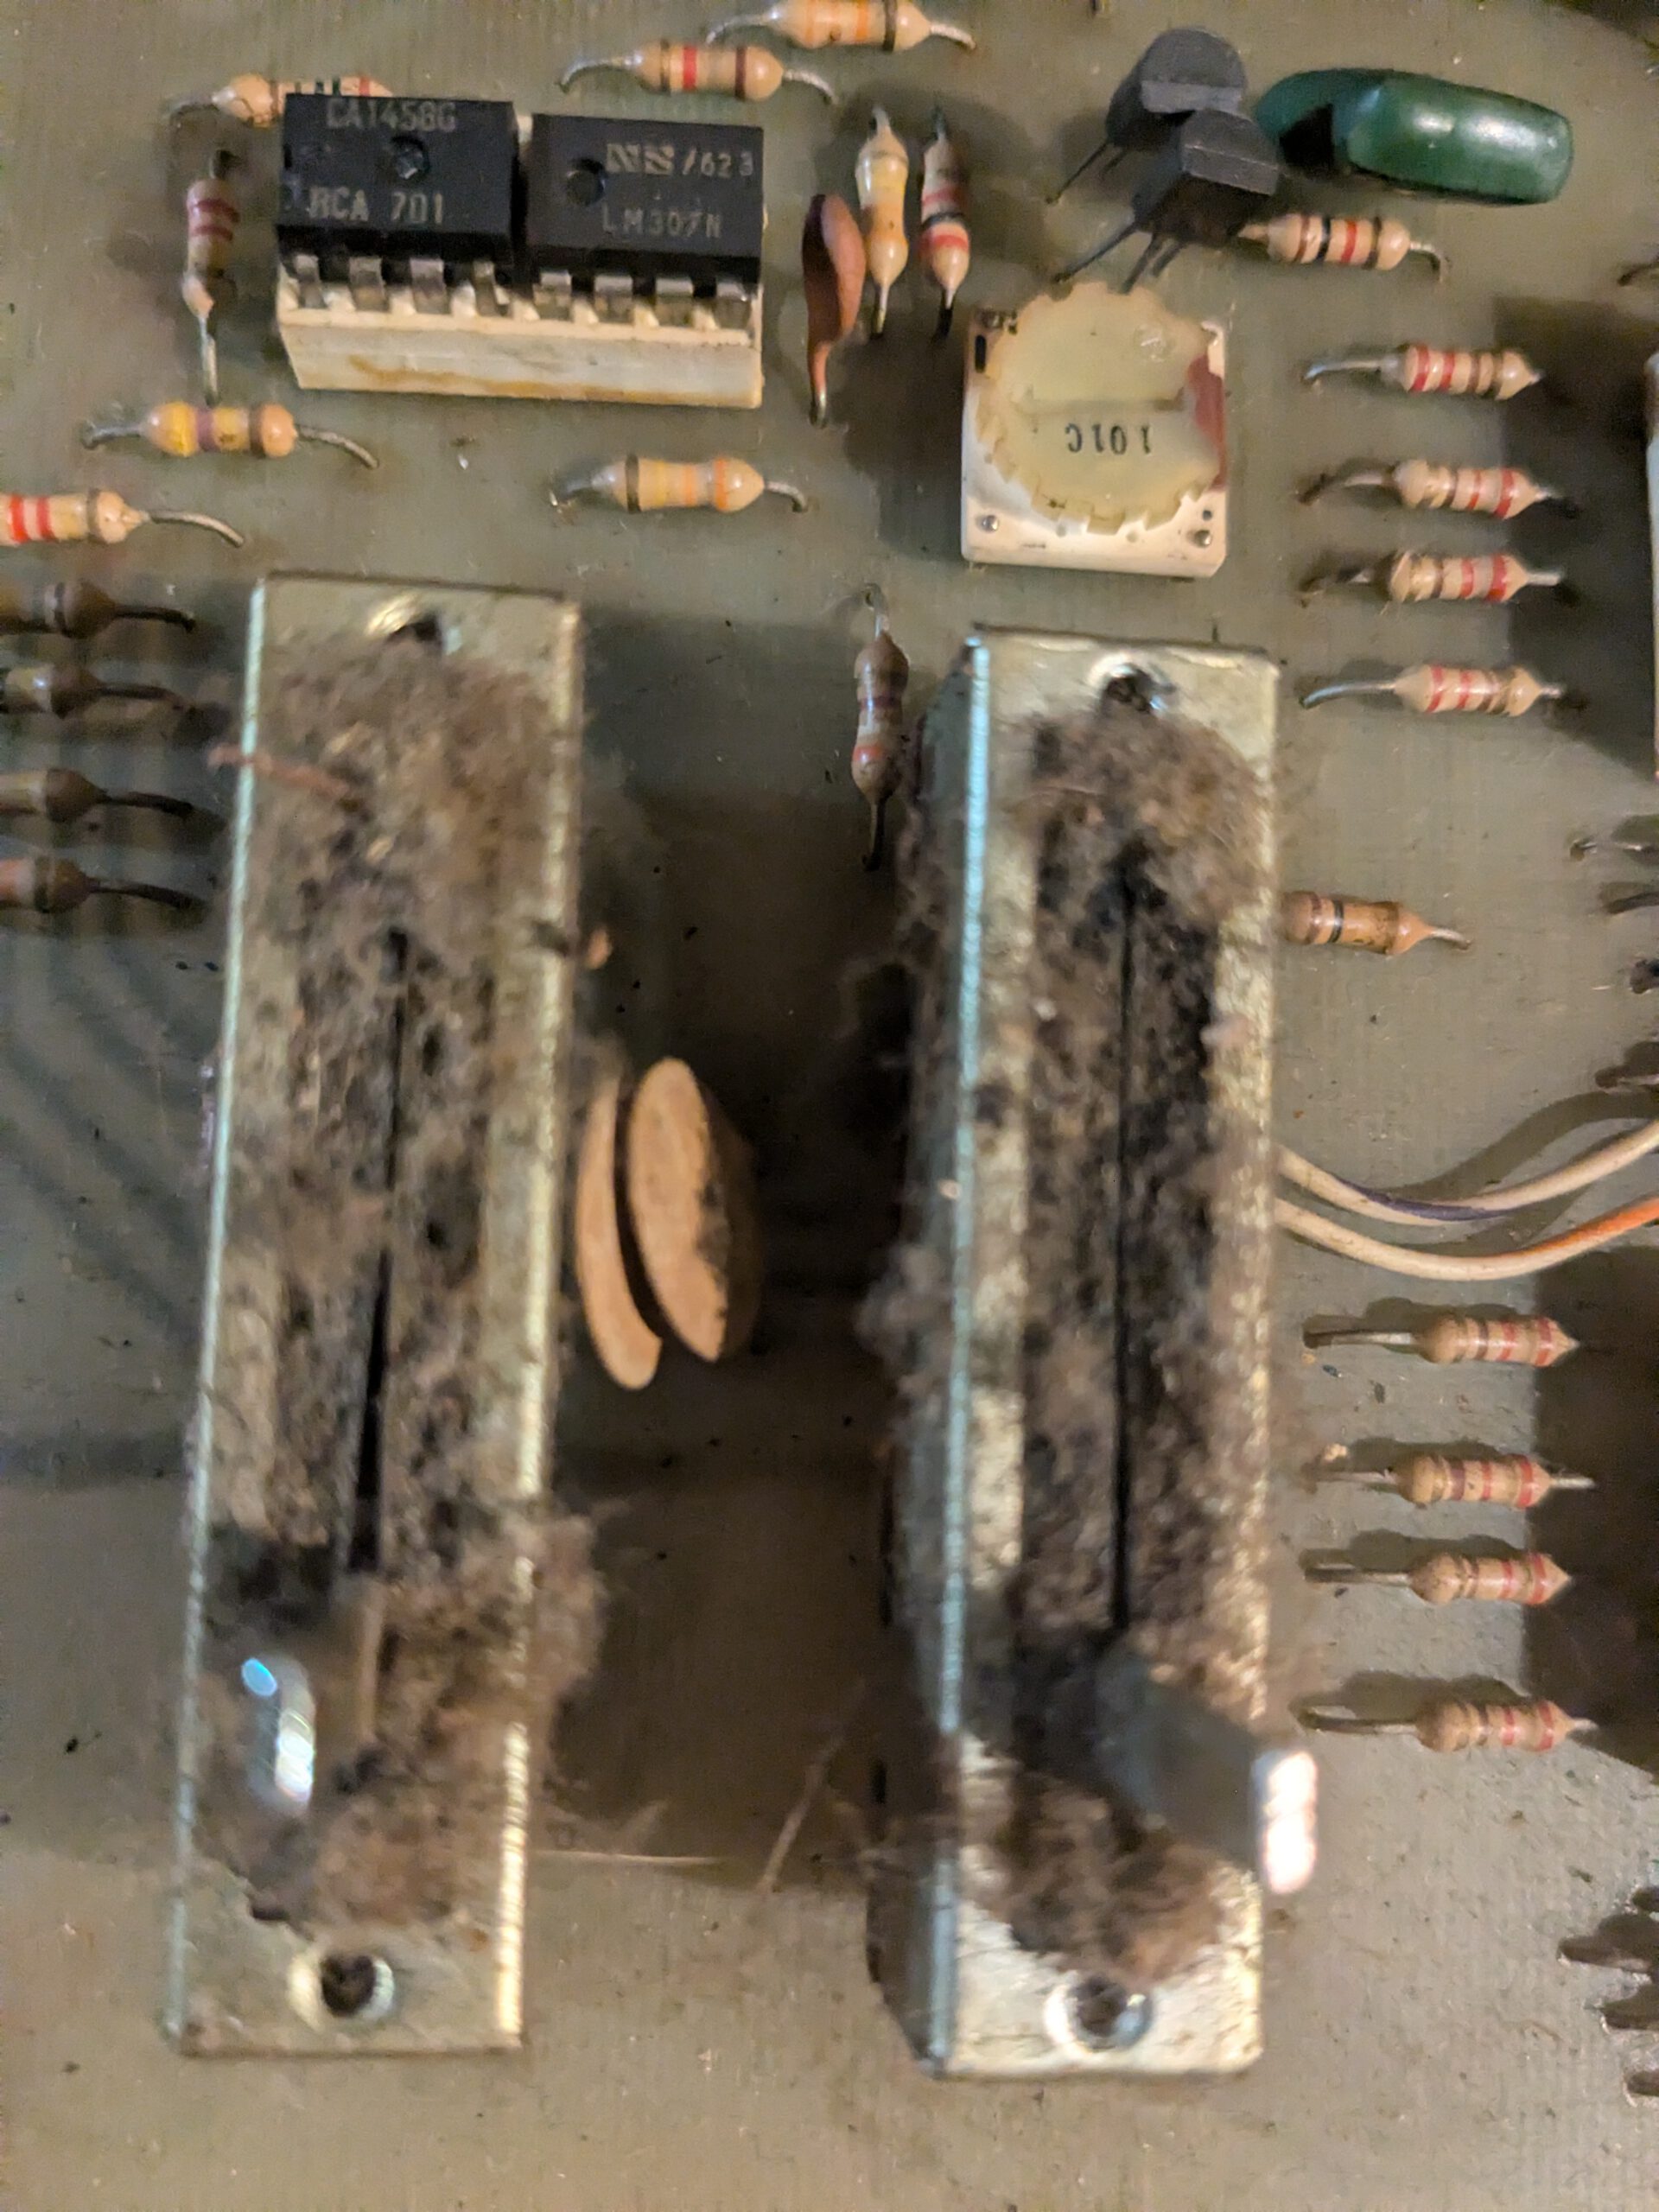
Oscillator 2 was not working. I did a lot of measuring with my multimeter and pretty quickly caused a short circuit. I had damaged a metal-can CA3140. I probably touched several pins at once. Unfortunately I had to replace it with a modern one and placed it into a DIP socket. After much testing, I traced the problem to the CD4066 chip. I didn’t have a CD4066 on hand so I used a CD4016 instead. According to ChatGPT, this can sometimes work well as a substitute. At least the oscillator was working again. I plan to replace it with the correct CD4066 later.
Later in the process, while tuning, I noticed I couldn’t get VCO2 properly set to a frequency. After a lot of searching, I came back to the CD4066. I had forgotten to swap it back after replacing it with the CD4016! Apparently, that substitute didn’t work very well after all. Once I switched it back, everything worked perfectly again.
II also replaced all the electrolytic capacitors. Later, I thought back on this and wondered if I had done the right thing. My reasoning was that they were already 50 years old and due for replacement. On the other hand, the Cat was working fine and this might have affected the sound. What do you think? I’d love to hear your thoughts in the comments.
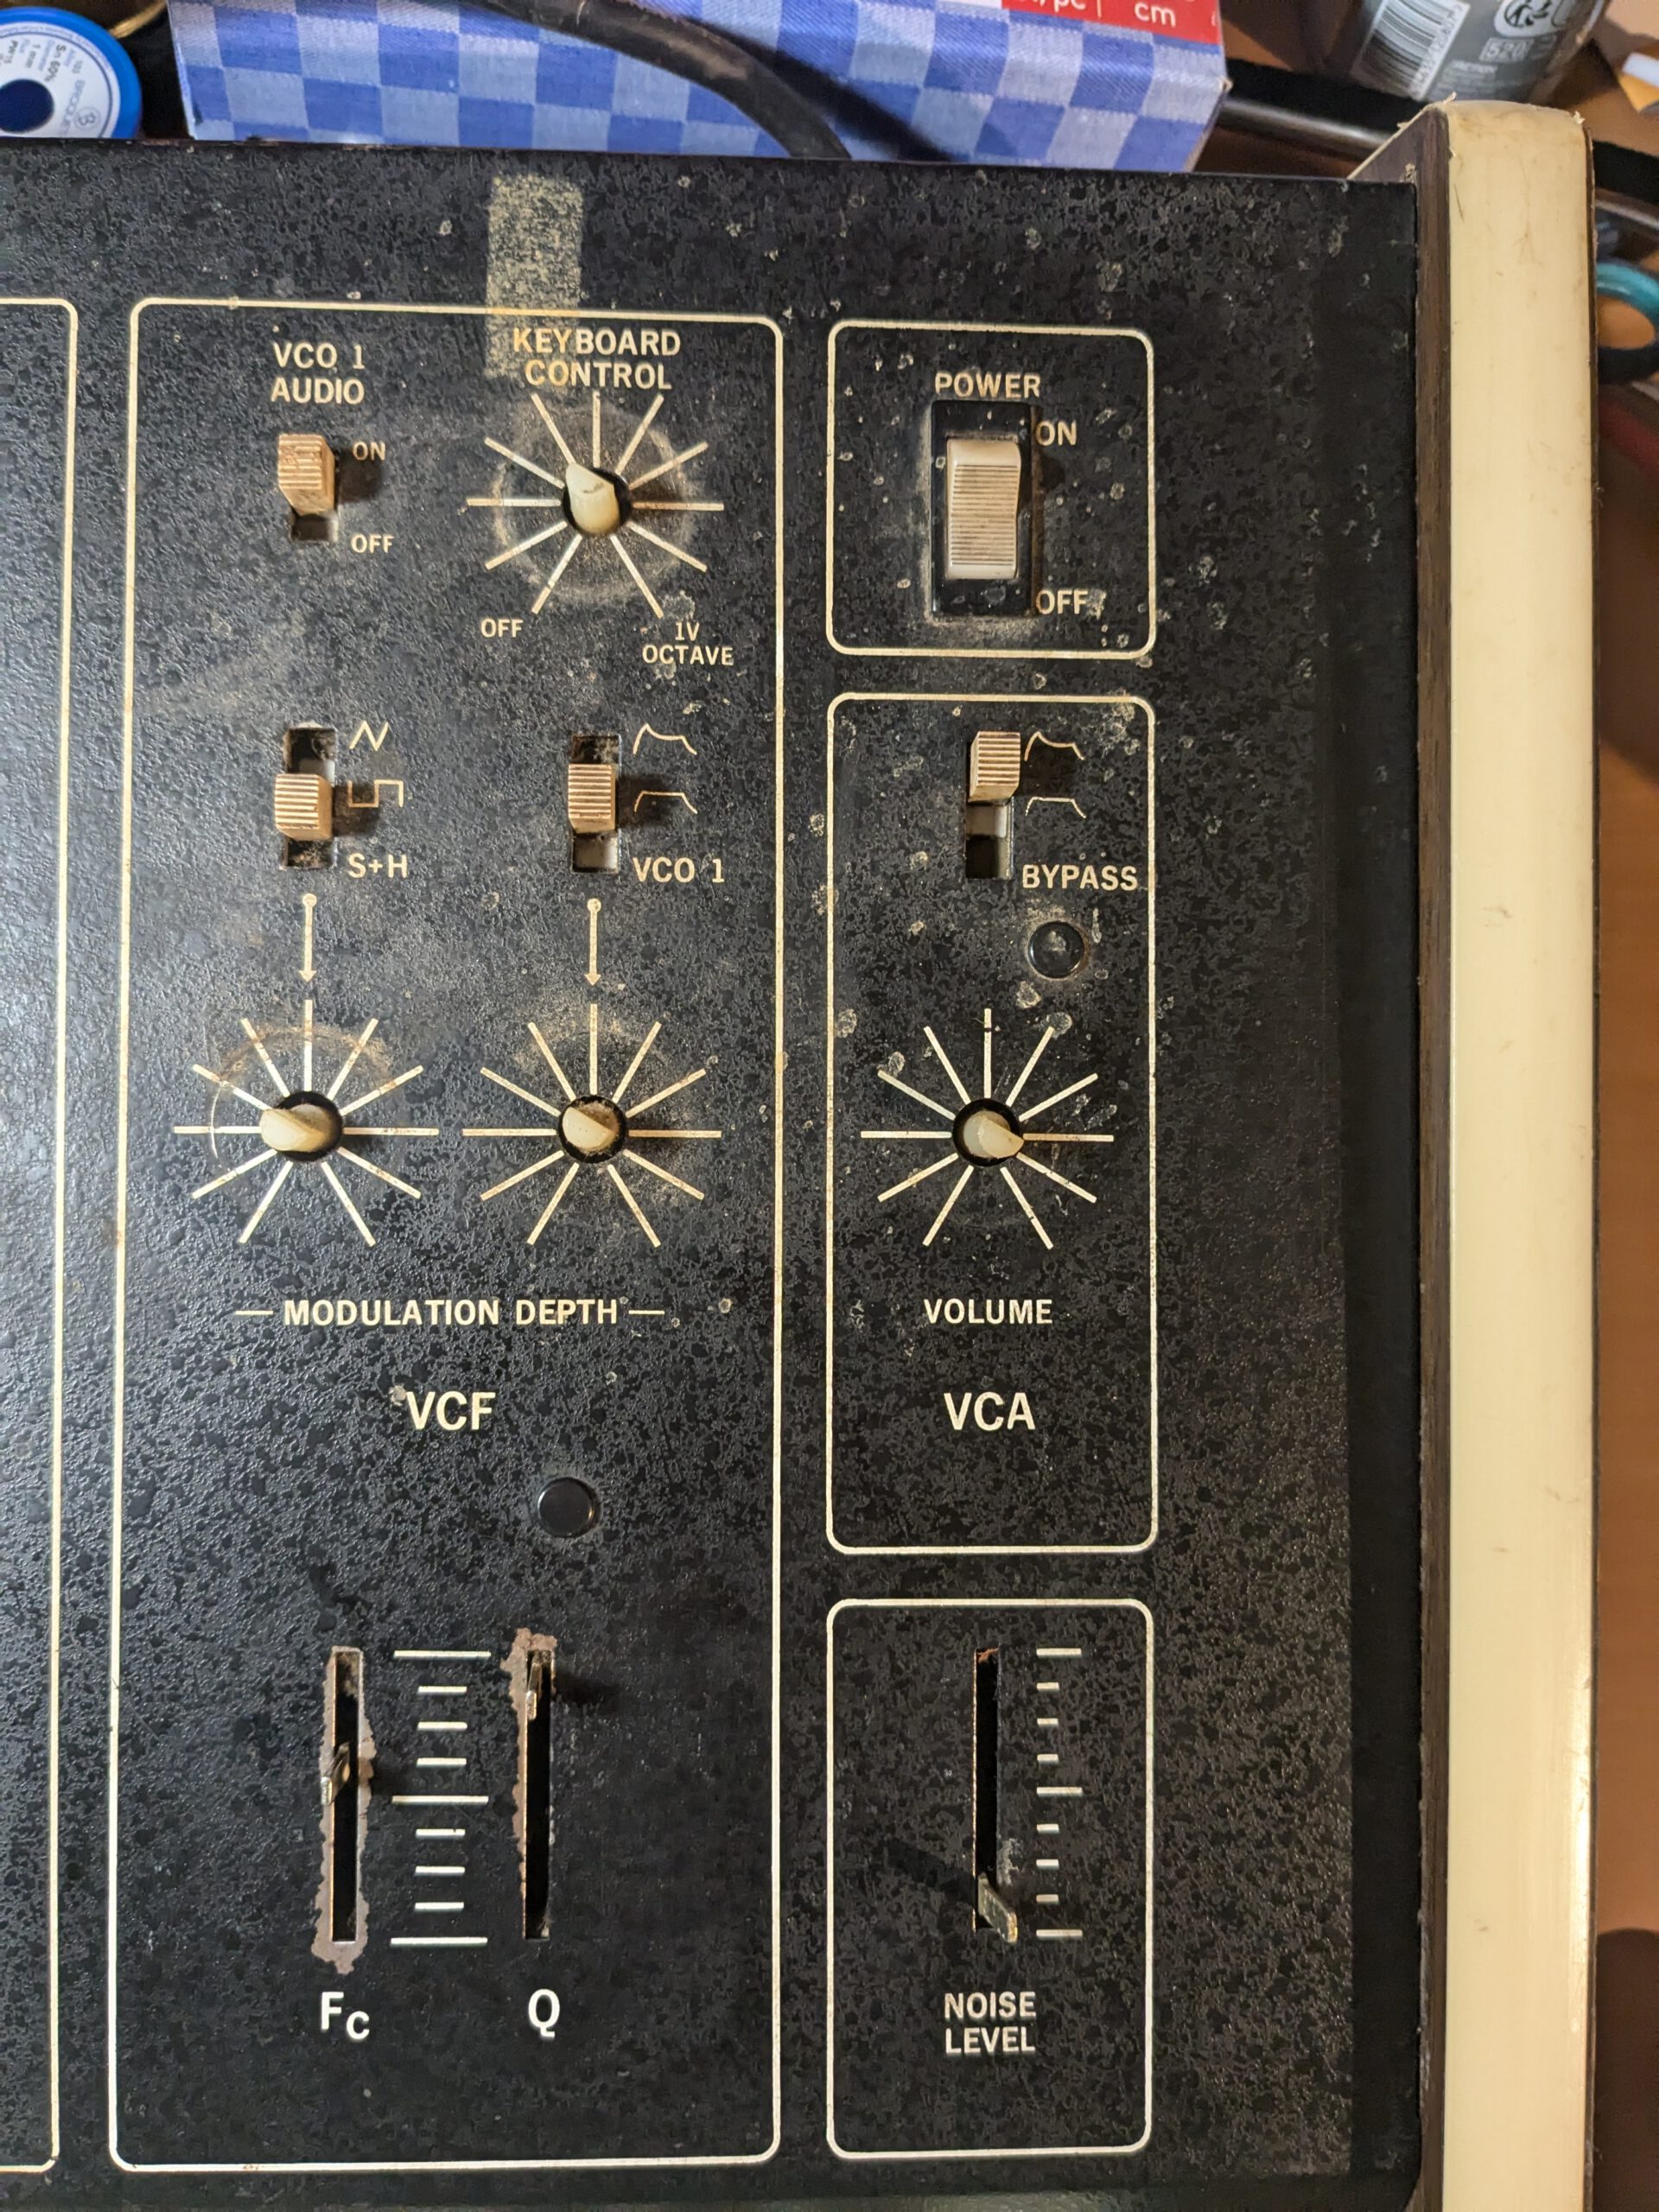
6. Replacing the trimpots
I had already replaced a number of components and felt like tuning the Cat would make it better. Unfortunately, the old trimpots were sealed with lacquer, and no matter what I tried, I couldn’t get them to move.
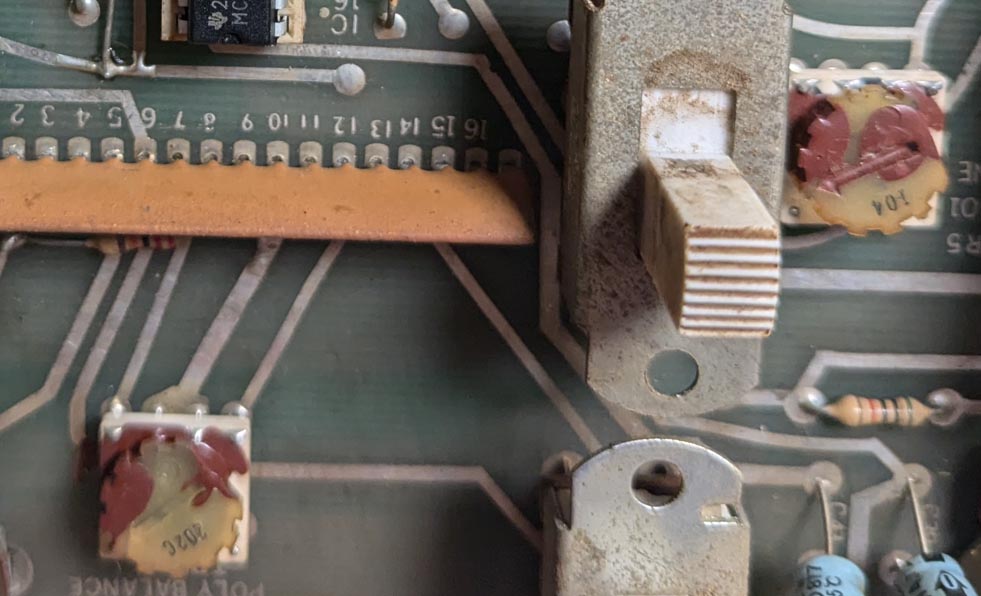
I then decided to replace the trimpots. Also because users had reported that the Cat is difficult to tune and the trimpots are quite sensitive. I bought Bourns 3362 trimpots for this. They’re not direct replacements as they’re not being made anymore. The pin count and the footprint were different, so I had to make an adapter myself using stripboard.. Below you can see how I did it. It might not win any beauty contests, but it works well and I can even access it from the top of the Cat through the trimpot openings.
I still found the Bourns trimpots quite sensitive. I was able to tune the Cat properly, but next time I might consider using multi-turn trimpots. That might be even more practical. When buying trimpots, also pay attention to the resistance values. There are several different values, and you can refer to the schematic for that.
By the way, those hole covers for the trimpots on the Cat’s chassis can only be opened from the inside. That didn’t seem very practical to me, so I want to replace them with rubber hole covers. That way I won’t have to open the entire Cat and remove PCBs just to get access.

7. Fixing the keybed
There was still a broken key I needed to replace. I tried to find a single replacement key, but that seemed very expensive to me. So I started looking around for similar keybeds. The Octave Cat uses a Pratt & Read keybed. On eBay, I saw a complete 44-key Gulbransen keybed that looked very similar for 20 dollars. That was worth a gamble.
When it finally arrived, I noticed the color was a bit different from my Cat’s keybed. That was disappointing. I decided to replace the entire keybed. It fit perfectly! For now, I chose to leave it like that. If I find keys in the right color later, I can always swap them out.
When I first got the Cat, I noticed the keybed sagged a bit in the middle. As I still had some trouble adjusting the J-wires in the center of the keybed, I decided to take the keybed completely apart. I also still needed to replace a trimpot that was positioned on the pcb of the keybed and wanted to replace the bushings. Dismanteling the keybed was quite a bit of work because everything had to come off, even the PCB.
There are a few things to watch out for if you decide to do this:
- When you remove the keys and brackets, lay them out so you can put them back exactly the same way later. That will make reassembling much easier.
- Watch out for the springs! I spent an hour on my knees looking for one, only to find it lying right on my desk. You can easily remove the springs with a small flathead screwdriver. The springs have different colors for the black and white keys (silver for white, red for black).
- Also, check whether the keybed is properly aligned. Use a long ruler to see if there are any significant deviations between different points.
After aligning the keybed, it seemed the J-wires in the center had more clearance. This made it easier for me to position the J-wires correctly. I also replaced the bushings of the keybed during this process. They were quite dried out and needed replacing.

8. The finishing touch
The inside of the Cat is now in good shape, but the outside could still use some love. The Cat is missing a few knobs, and the ones that are there are very discolored. I found good replacement knobs at Digikey. Below are the part numbers:
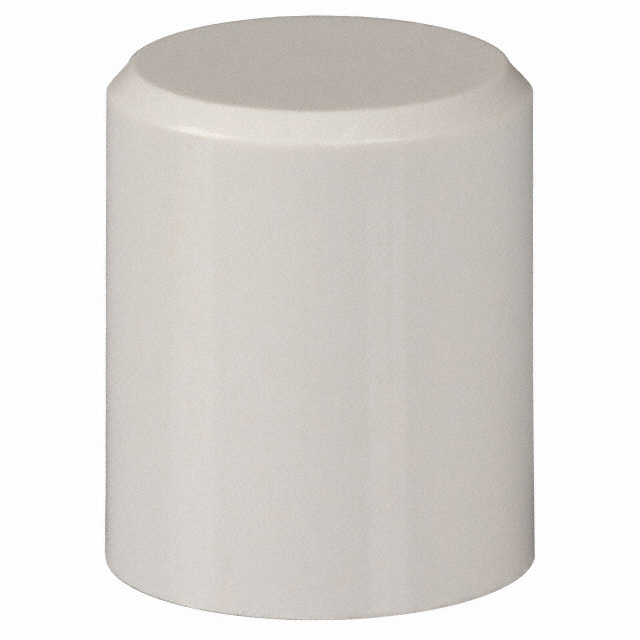
Unfortunately, the silver-colored knobs are no longer being made. I was able to buy them from a forum member on the Dutch Synthforum. Now the knobs are complete again!
There was one last cosmetic issue: a bare spot on the bottom left next to the keybed where the paint had worn off. I lightly sanded it and used black hammered finish paint. It looks great again. I also used it to touch up some small spots. Below is the result!
9. Conclusion
I’m quite proud of how everything turned out in the end. The Cat can last for a few more years, and I really feel like I saved it. I also learned a lot about how synths work and how to best test certain components. My first time soldering went perfectly after watching some videos. Would I have done some things differently in hindsight? Maybe, but that’s all part of the learning process. A few points:
- When adjusting the J-wires, make sure the keybed is in good condition and properly aligned with the Cat’s chassis. Positioning the J-wires can be a time consuming task, but keeping this in mind will make the process much easier and less frustrating.
- Buying components was pretty tricky. You need to pay close attention to values and specifications, and the overwhelming number of brands doesn’t make it easier. Does anyone have tips for this? Buying single components wasn’t ideal either—sometimes the shipping cost was higher than the component itself.
- Finding an audio signal is difficult if you don’t have many tools at your disposal. For my next project, I’m thinking of making an audio probe. That might make things easier.
- Sometimes I got a bit too enthusiastic with probing. Some ICs didn’t like that. I have to be more careful next time.
- After a while, I noticed that the step-down converter I was using was a bit noisy. I think it should be easy to convert the Cat to 230V so I won’t need the converter anymore. A project for later.
All in all, a successful first project. On to the next one!